Azure Data Factory CI/CD Pipeline Hack
Pre-Reqs:
Need to have ability to create service principal.
- DevOps project (devOps organization)
- Service Principal will need to be authorized to create resources
- 3 instances of key vault
- 3 blob storage instances (dev, qa, prod)
References:
Review:
1. CI/CD Workflow
2. Setup Infrastructure
3. Preparing for ADF Integration (setting up key vault)
4. Creating a pipeline from a template
5. Azure DevOps Setup
6. Azure Data Factory Link to Azure DevOps
7. Deploying with a Release Pipeline
CI/CD Workflow
The master branch is not representative of what’s deployed in the Data Factory service. The master branch must be published manually to the Data Factory service.
- Work on a new feature branch
- Test
- Integrate in collaboration branch through pull request
- Approve pull request and merge into collaboration branch (master)
- Publish collaboration (master branch) (note you can only publish master branch)
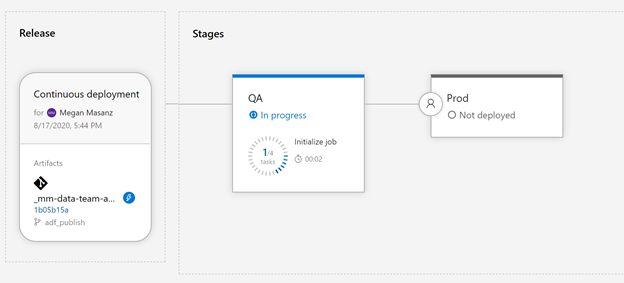
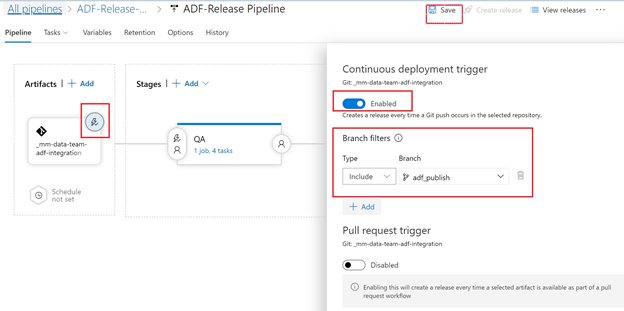
- Push to QA environment using branch filter on adf_publish (as captured in screen shot below)
- Test in QA environment
- Approve moving to production
- Code moves into production
2. Setup Infrastructure
Thoughtfully consider a naming strategy
Ex:
{bg}-{projName}-{component}-{environment}
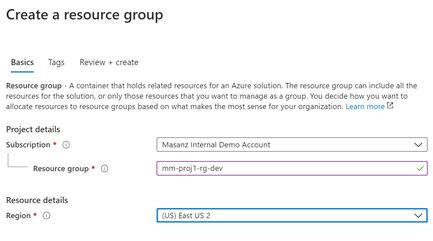
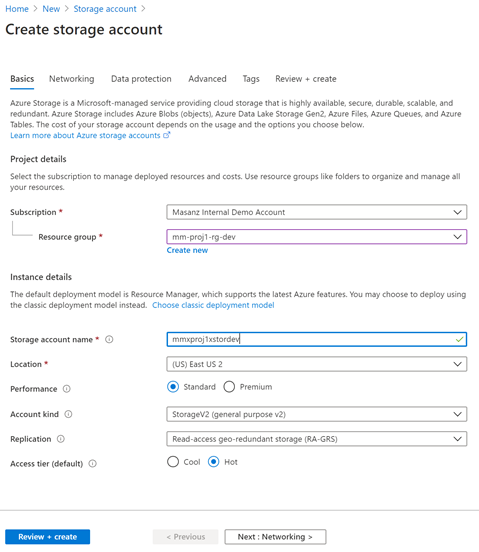
2.1 Setup Resource groups
| Resource Group Names for Example: |
|---|
| mm-proj1-rg-dev |
| mm-proj1-rg-qa |
| mm-proj1-rg-prod |
For each environment [dev, qa, prod] we are going to create resources.
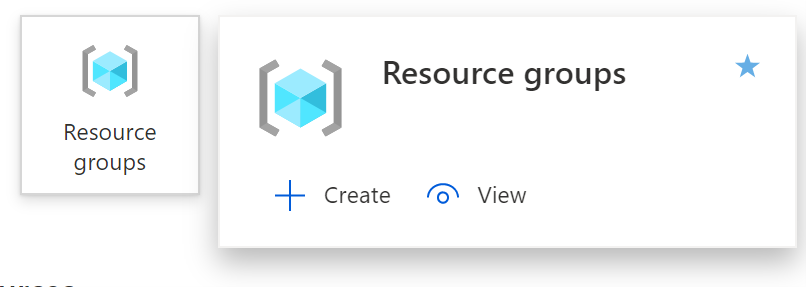
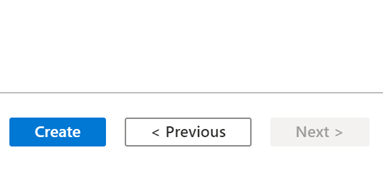
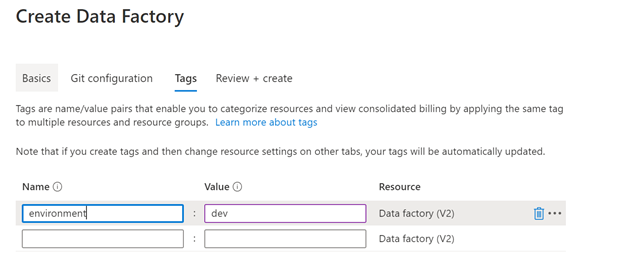
Finally Create the Create Button.
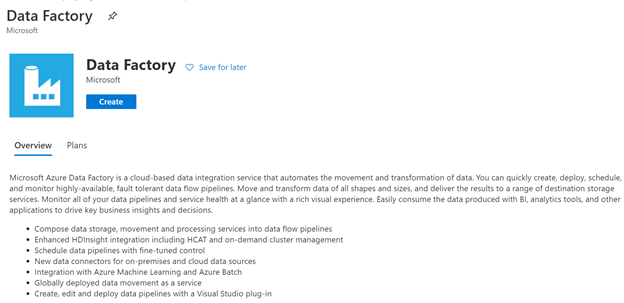
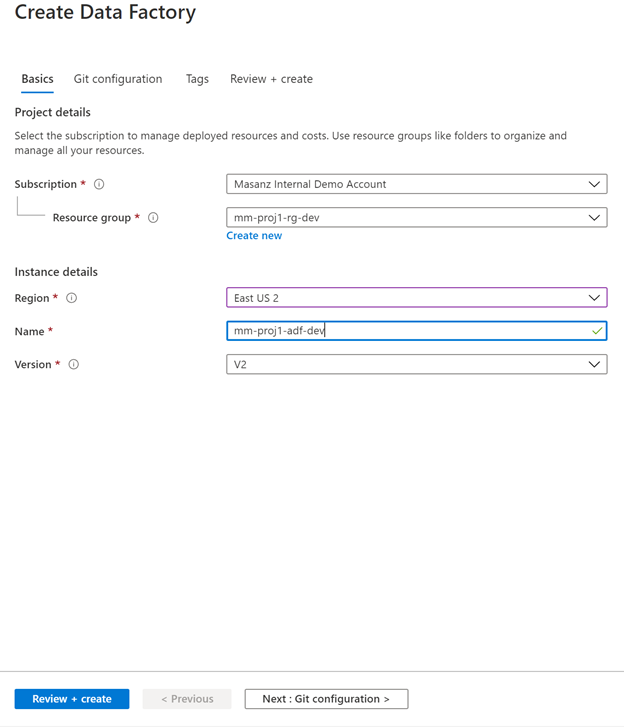
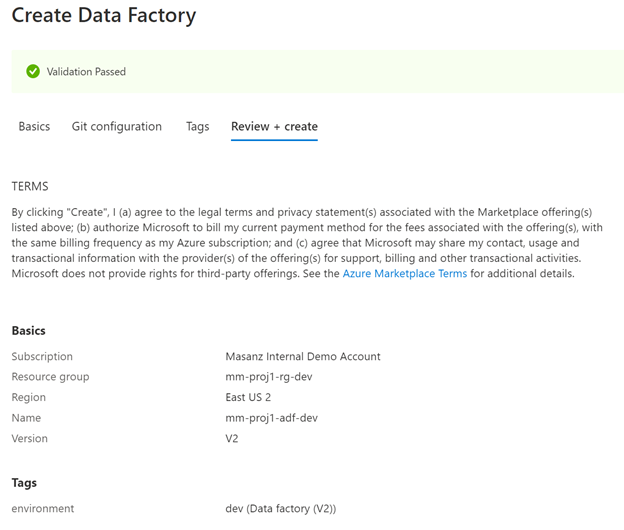
2.2 Azure Data Factory
Create a new resource searching for Data Factory. Technically, the pipeline would be able to create the qa and prod environments for us, but we do need to link the qa and prod environments to our key vault, so we will go ahead and create them manually to make sure we can provide them with the correct permissions.
| ADF Names for Example: |
|---|
| mm-proj1-adf-dev |
| mm-proj1-adf-qa |
| mm-proj1-adf-prod |

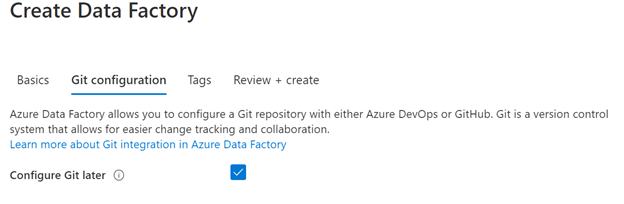
Move onto the Git configuration

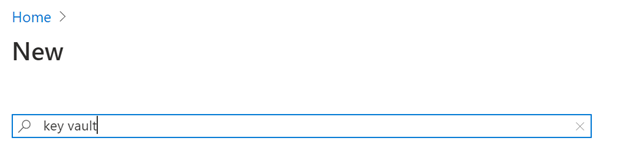
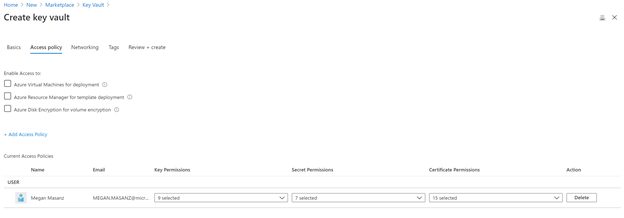
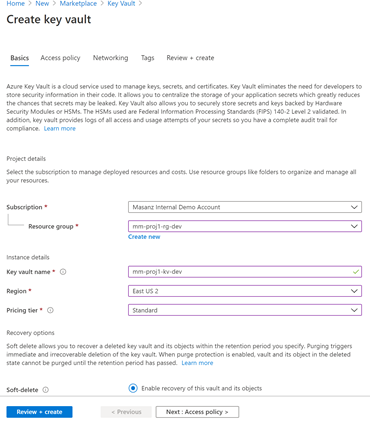
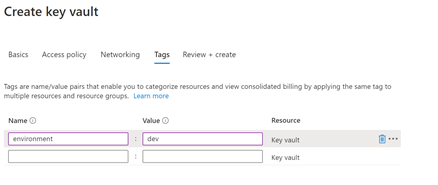
2.3 Azure Key Vault
Lets create 3 Azure Key Vaults
| Azure Key Vaults: |
|---|
| mm-proj1-kv-dev |
| mm-proj1-kv-qa |
| mm-proj1-kv-prod |

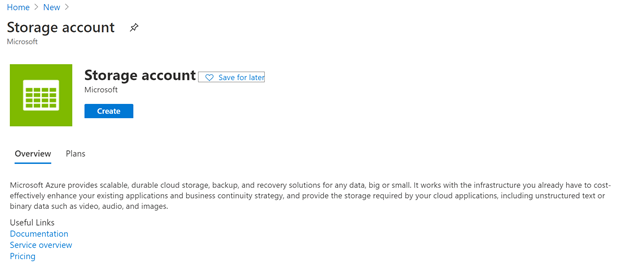
2.4 Azure Storage Accounts
| Azure Storage Account: |
|---|
| mmxproj1xstordev |
| mmxproj1xstordqa |
| mmxproj1xstordprod |
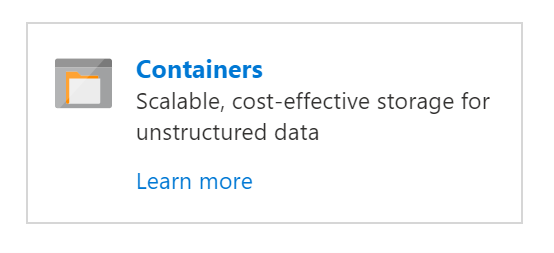
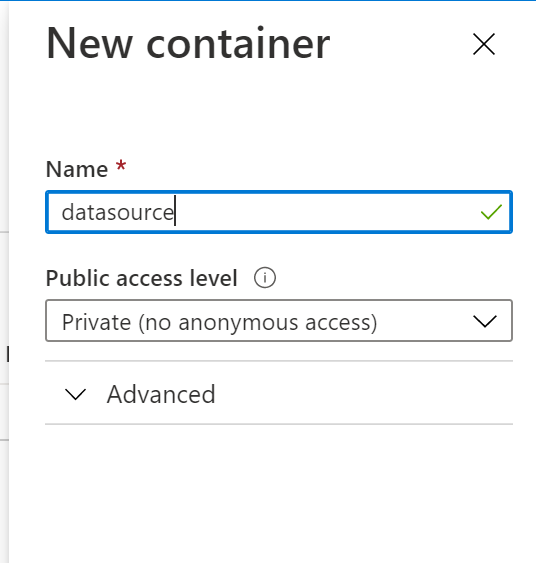
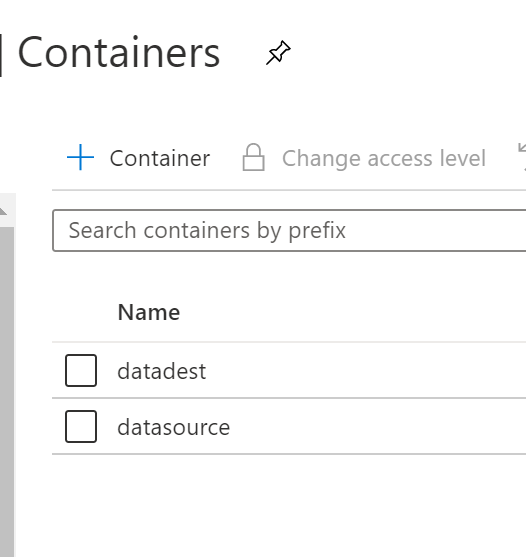
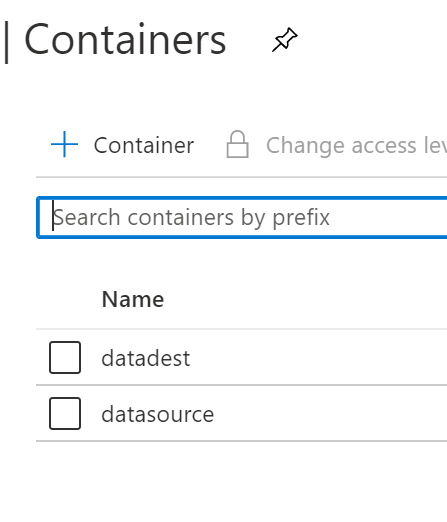
2.5 Azure Storage Accounts Containers
Create containers inside storage account datasource & datadest
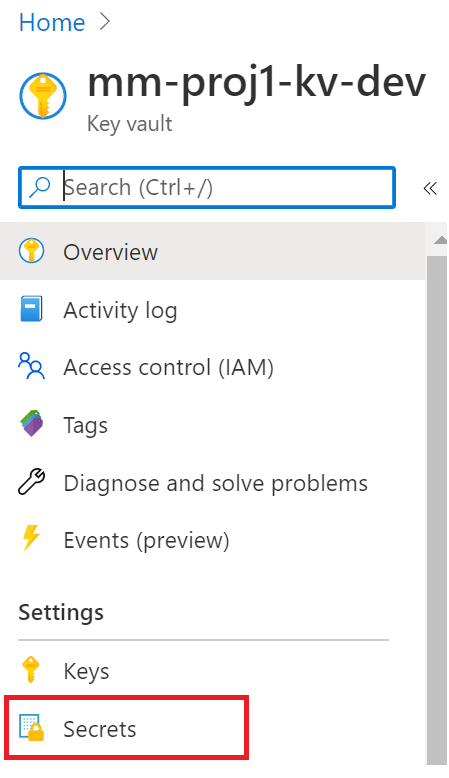
3. Preparing for ADF Integration (setting up key vault)
We need to setup the key-vault connection string & ADF Key Vault Access.
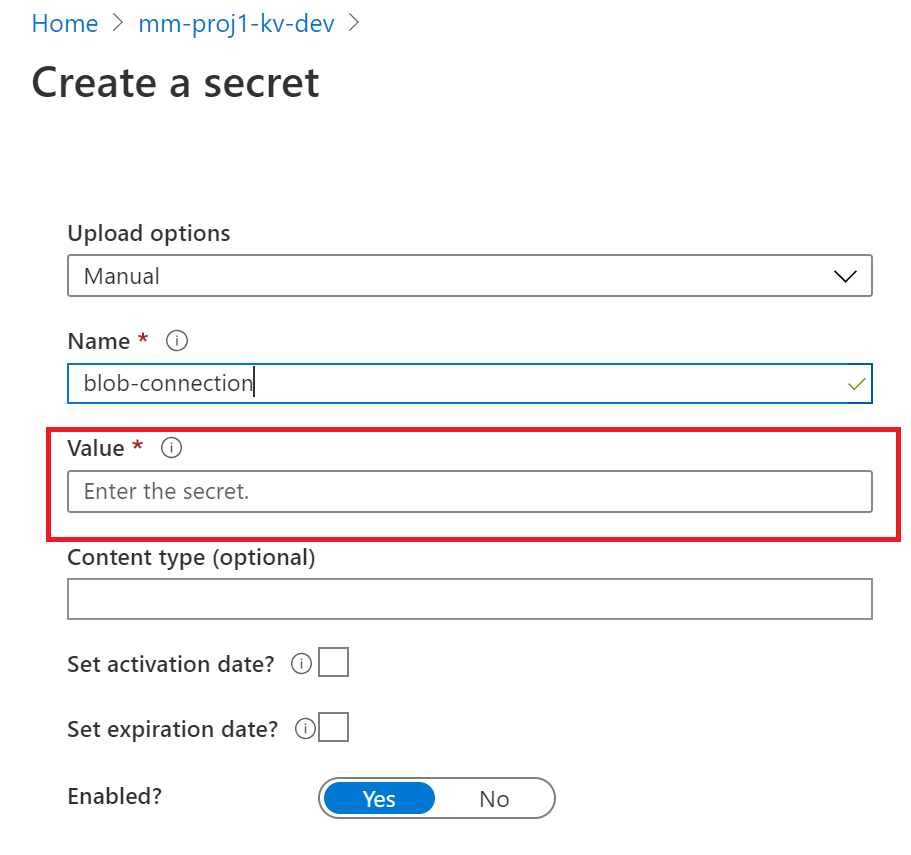
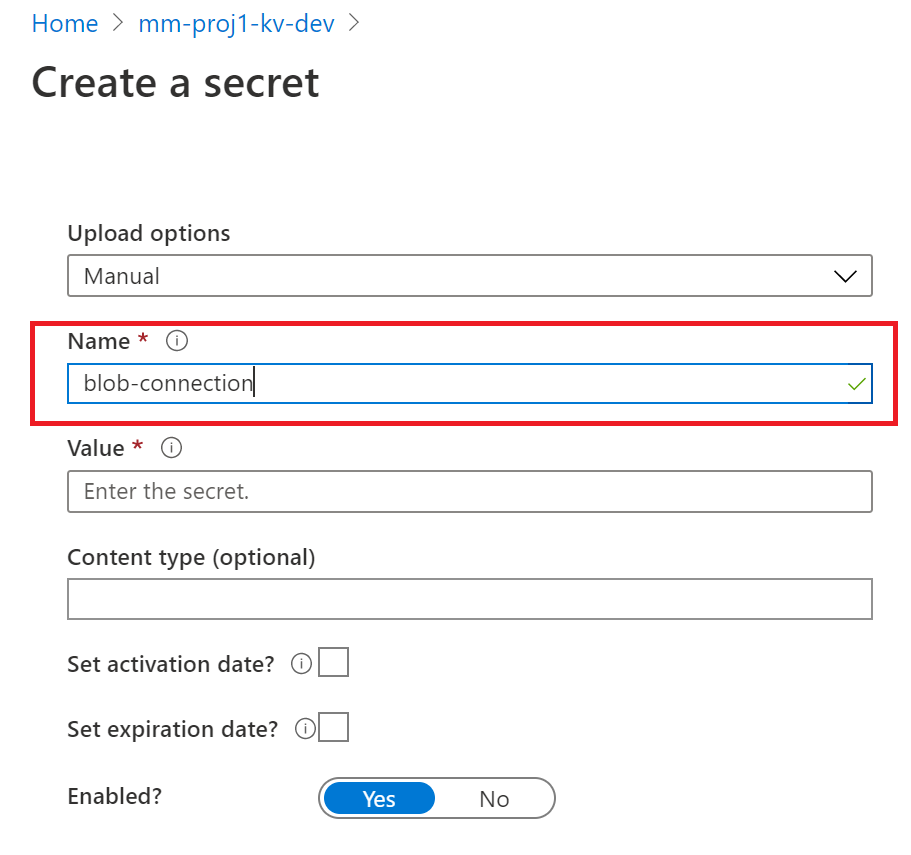
3.1 Key vault will store your sensitive information, like connection strings. Go to storage account and copy the Access key we will store it in a variable called ‘blob-connection’
In each key vault create a blob storage connection string. Go to the dev instance of your storage account and grab the key from Access keys

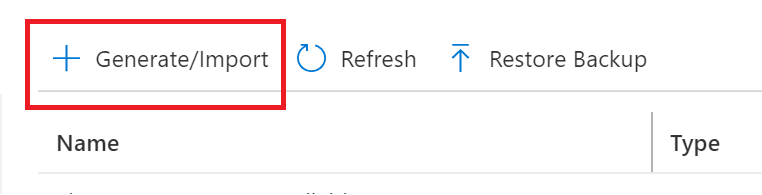
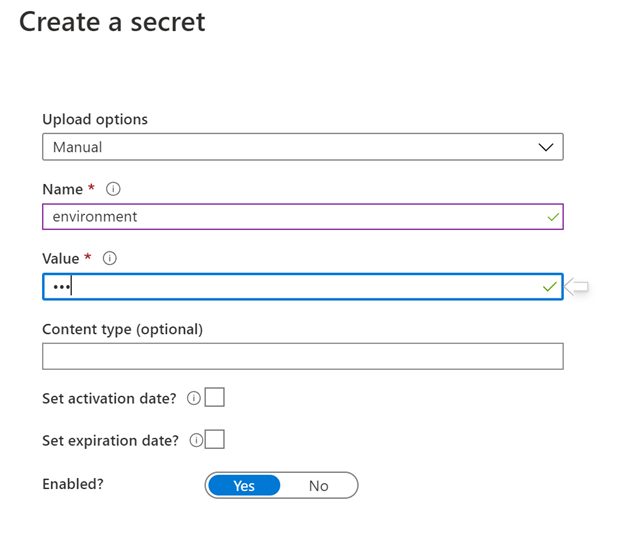
In each key vault create an environment variable
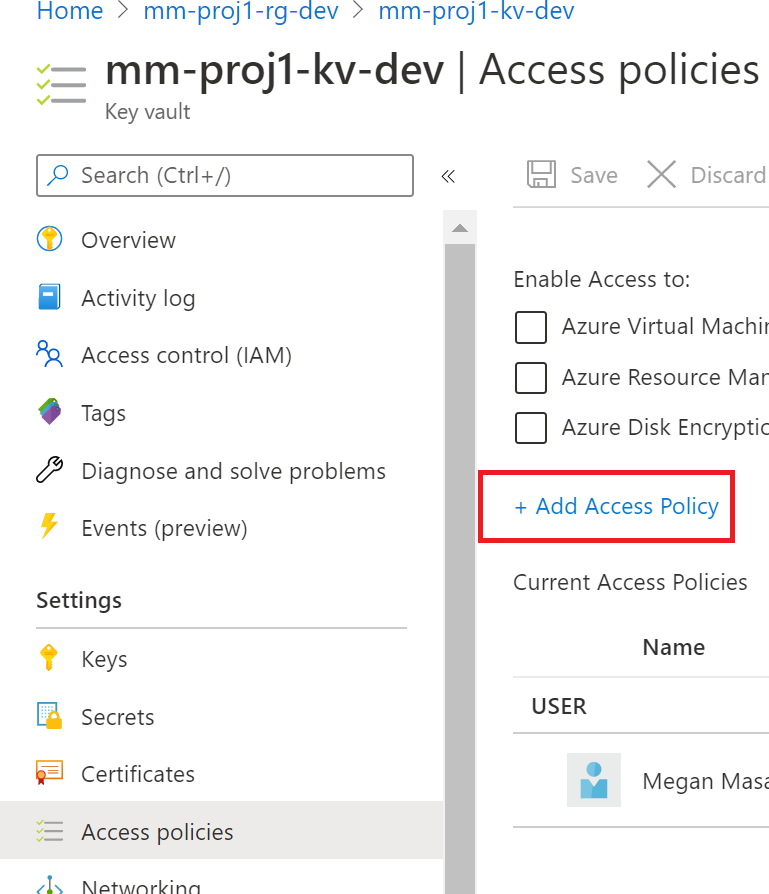
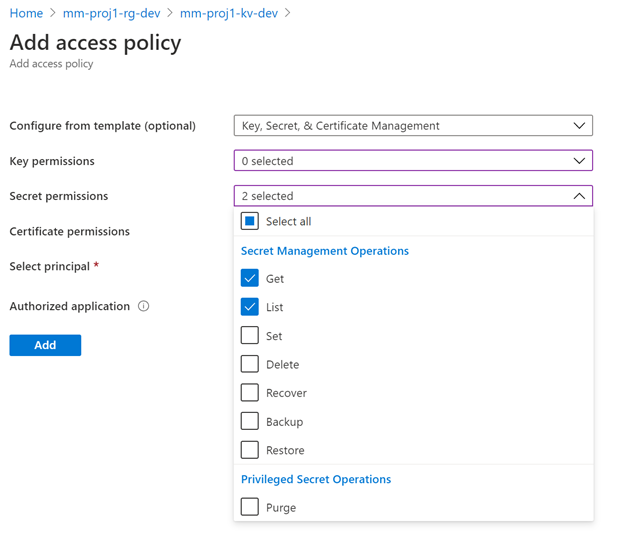
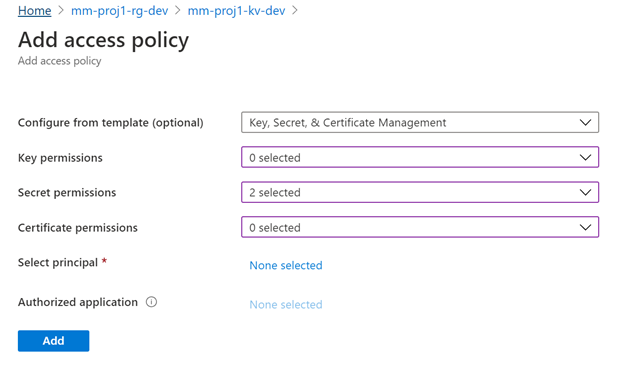
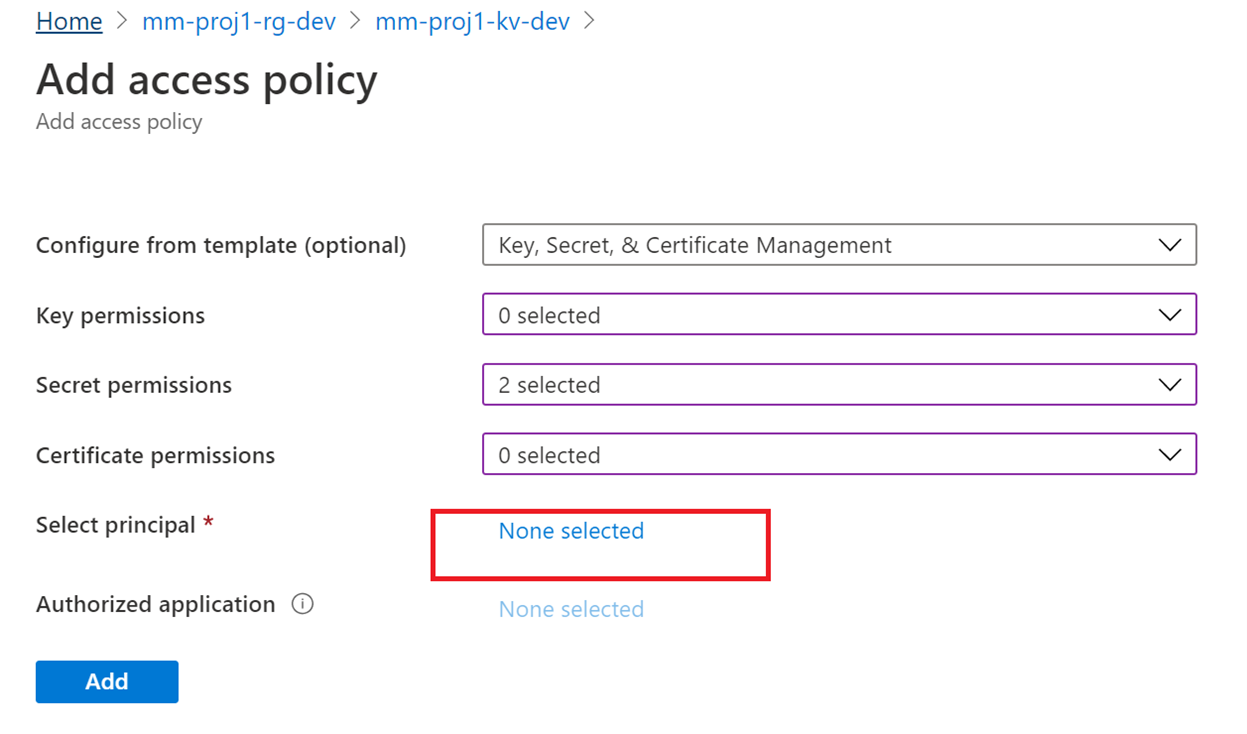
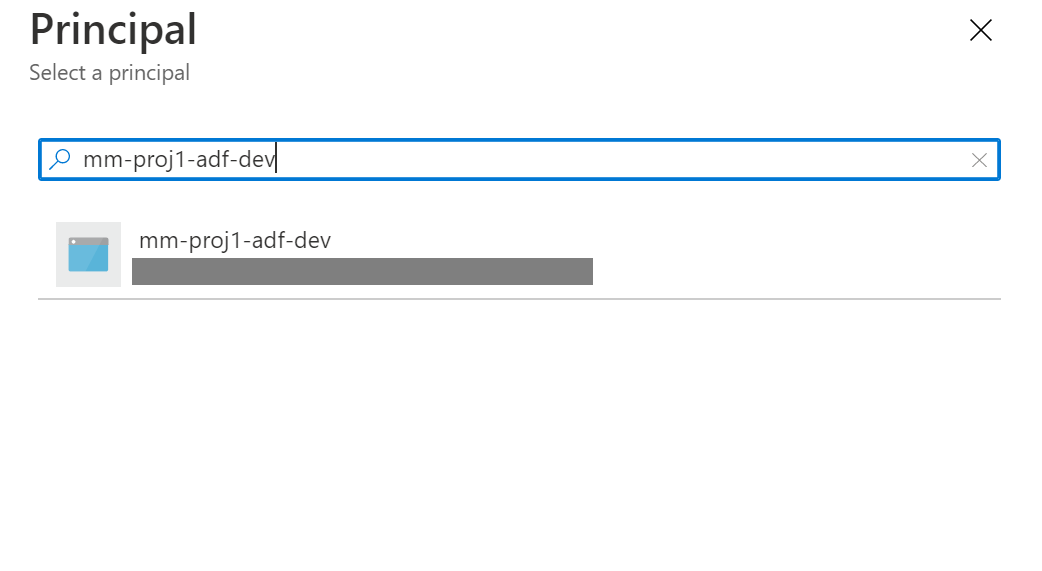
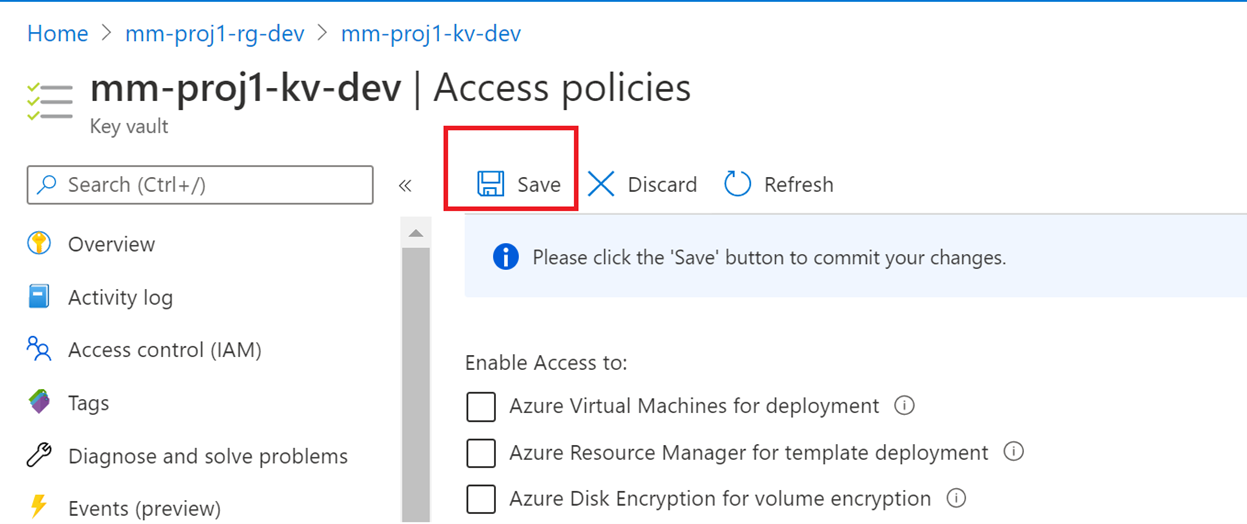
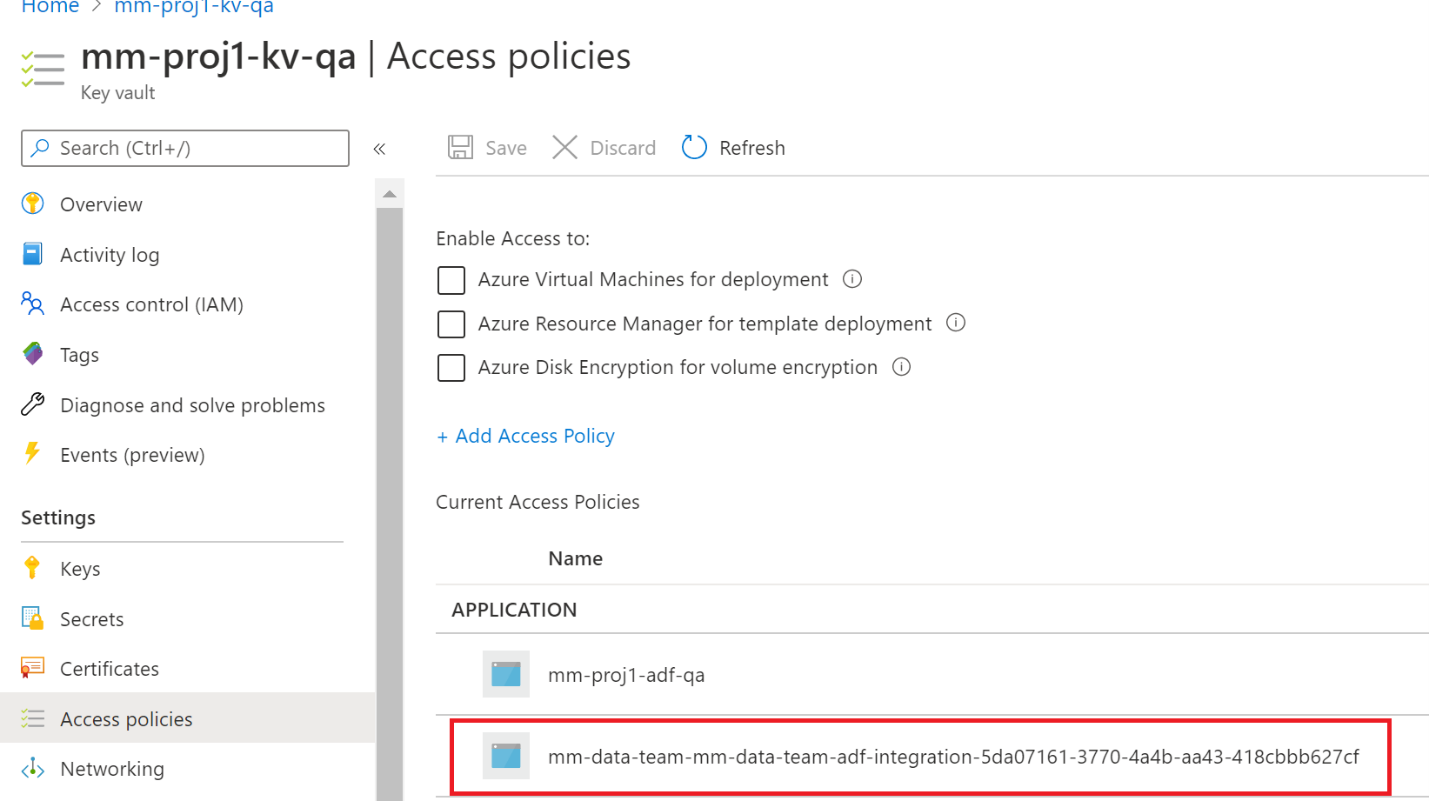
3.2 Setup MSI Key Vault Access
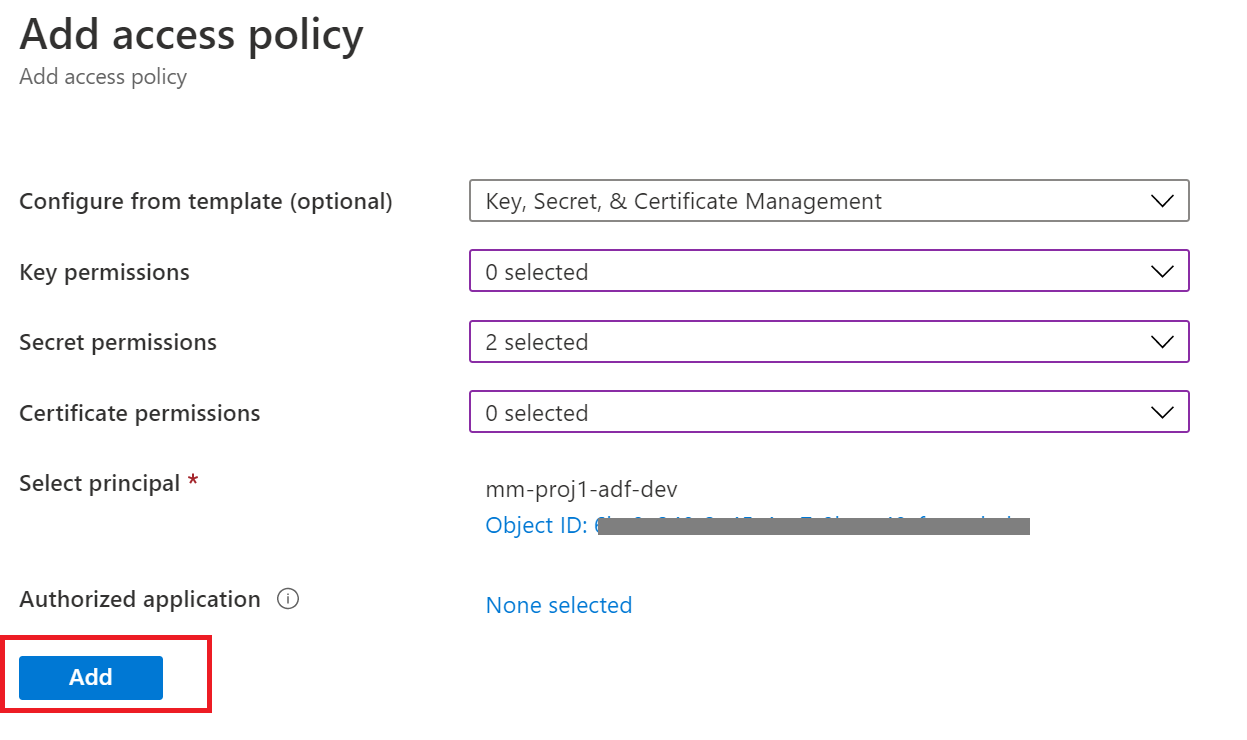
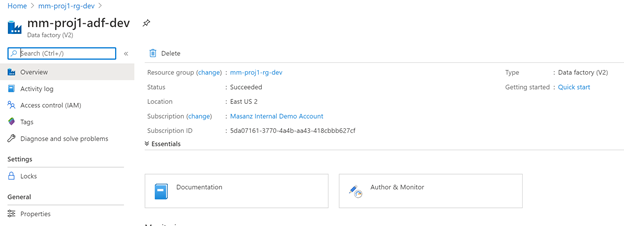
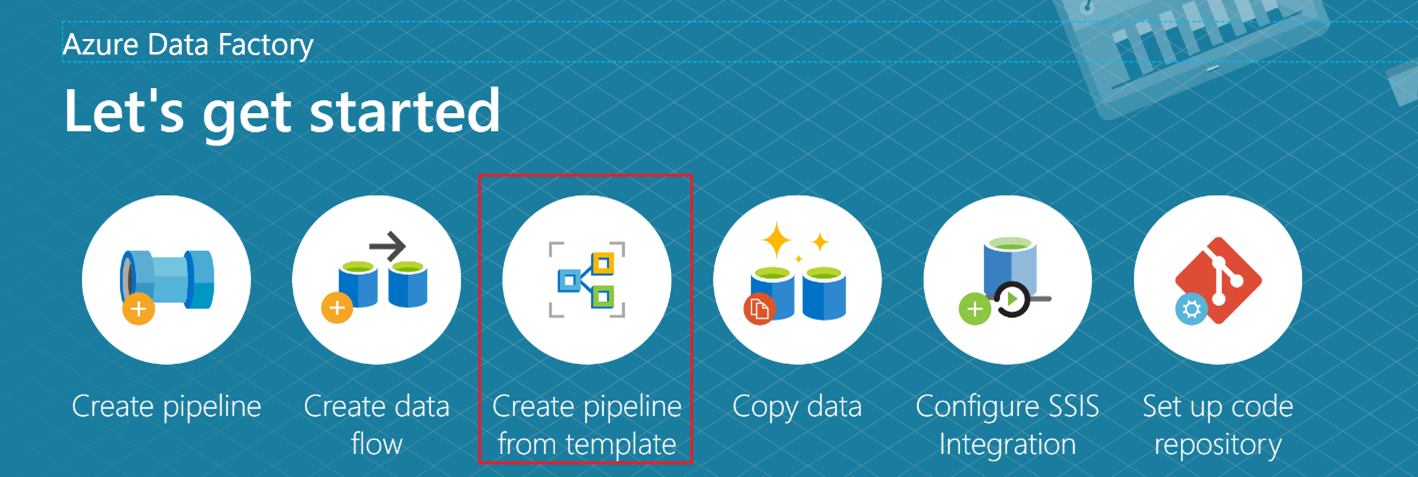
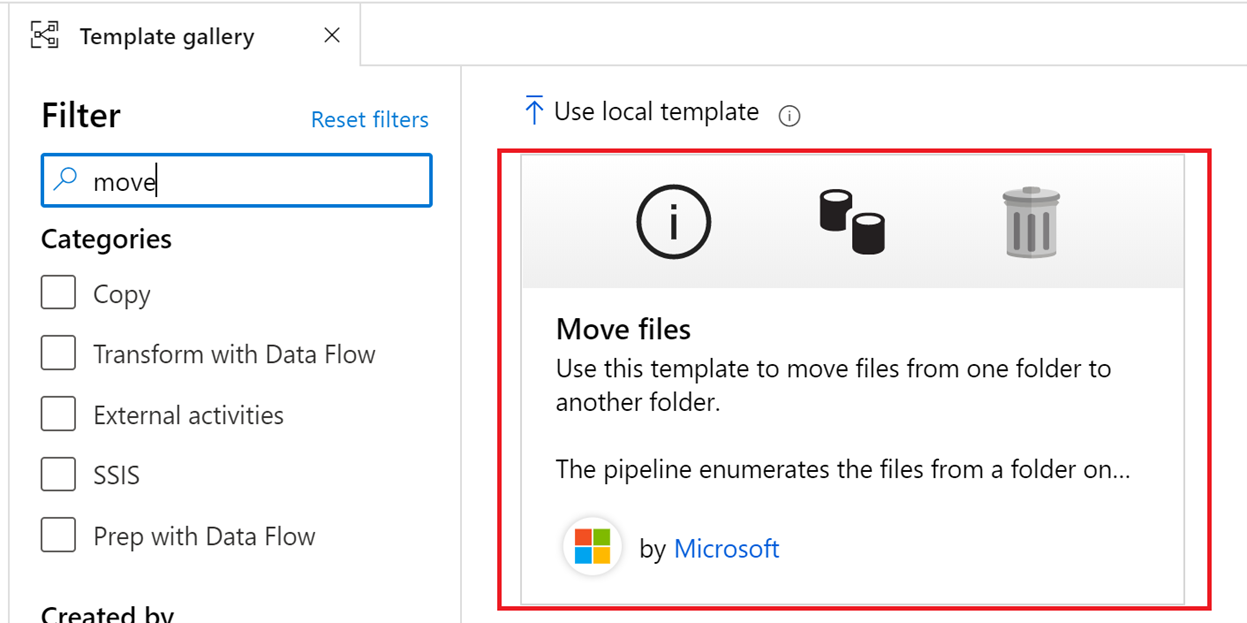
4. Creating a pipeline from a template
In the dev instance click on the Author & Monitor Button
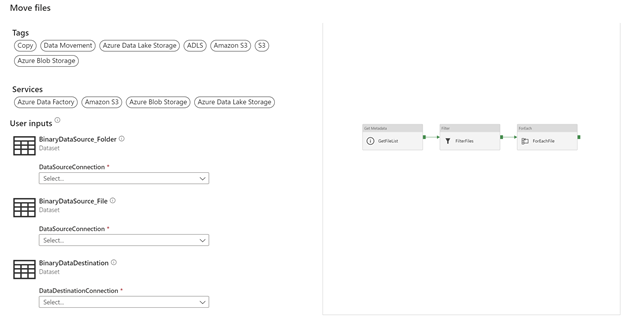
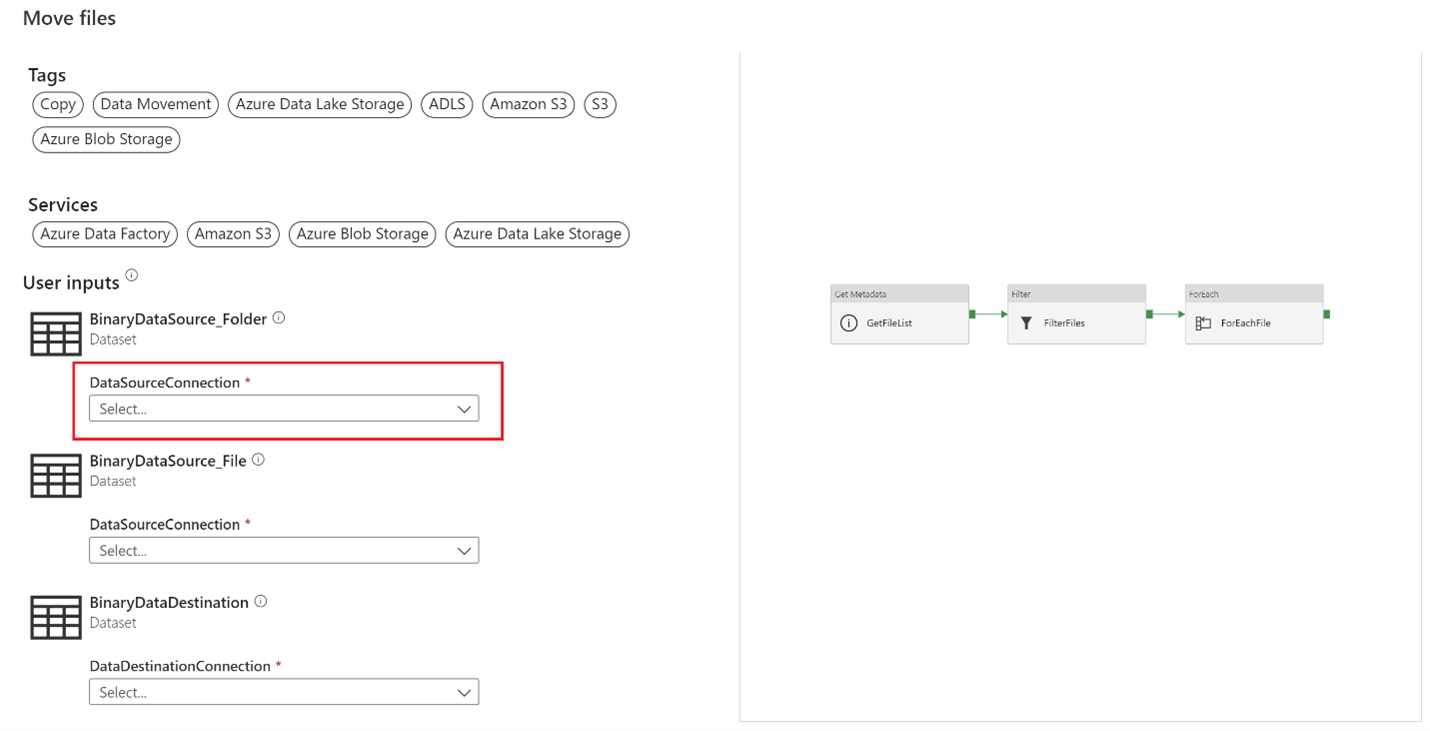
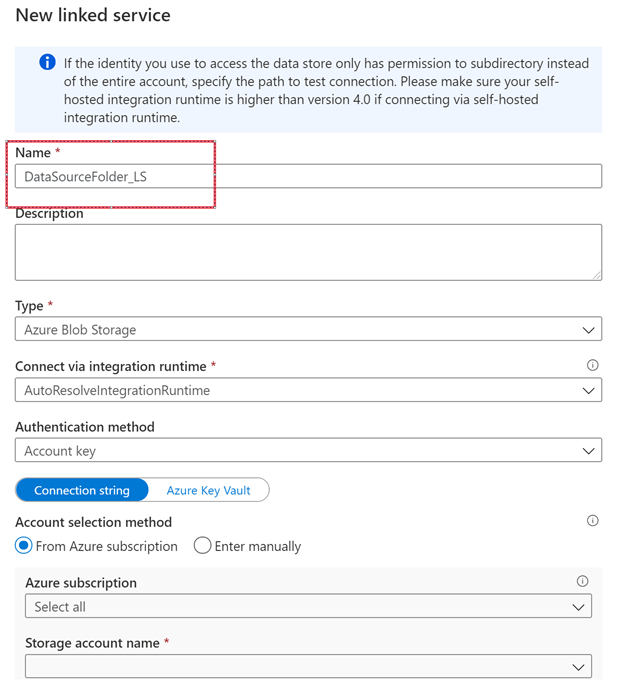
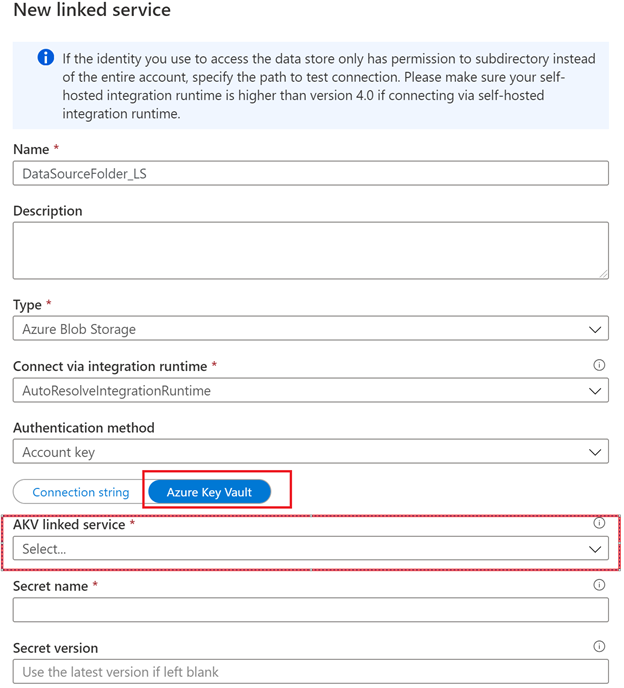
Selecting a new DataSourceConnection we are able to create a new linked service.
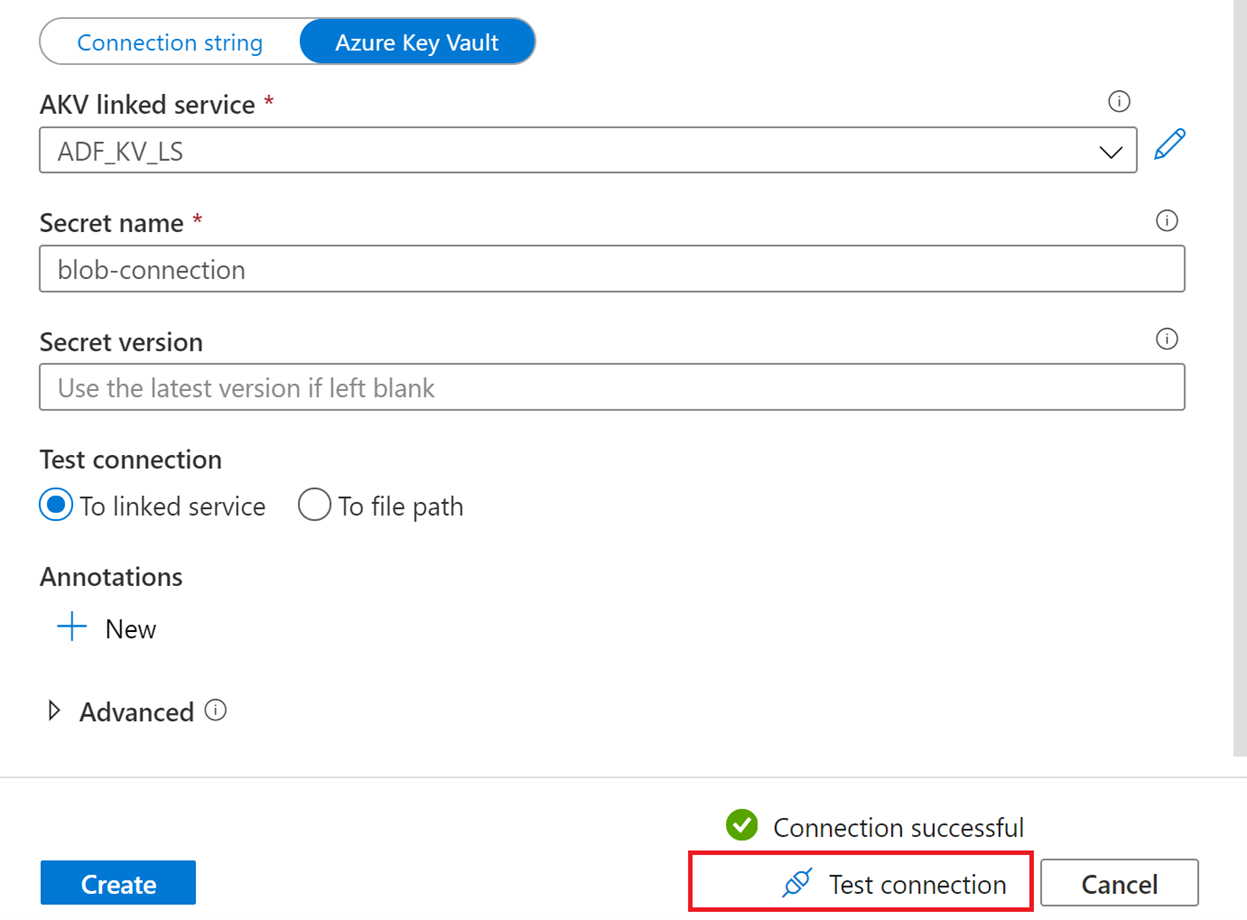
Swap over to Azure Key Vault and we will create a linked service for Azure Key Vault as well.

After selecting the create button
Let all 3 use the same linked service.
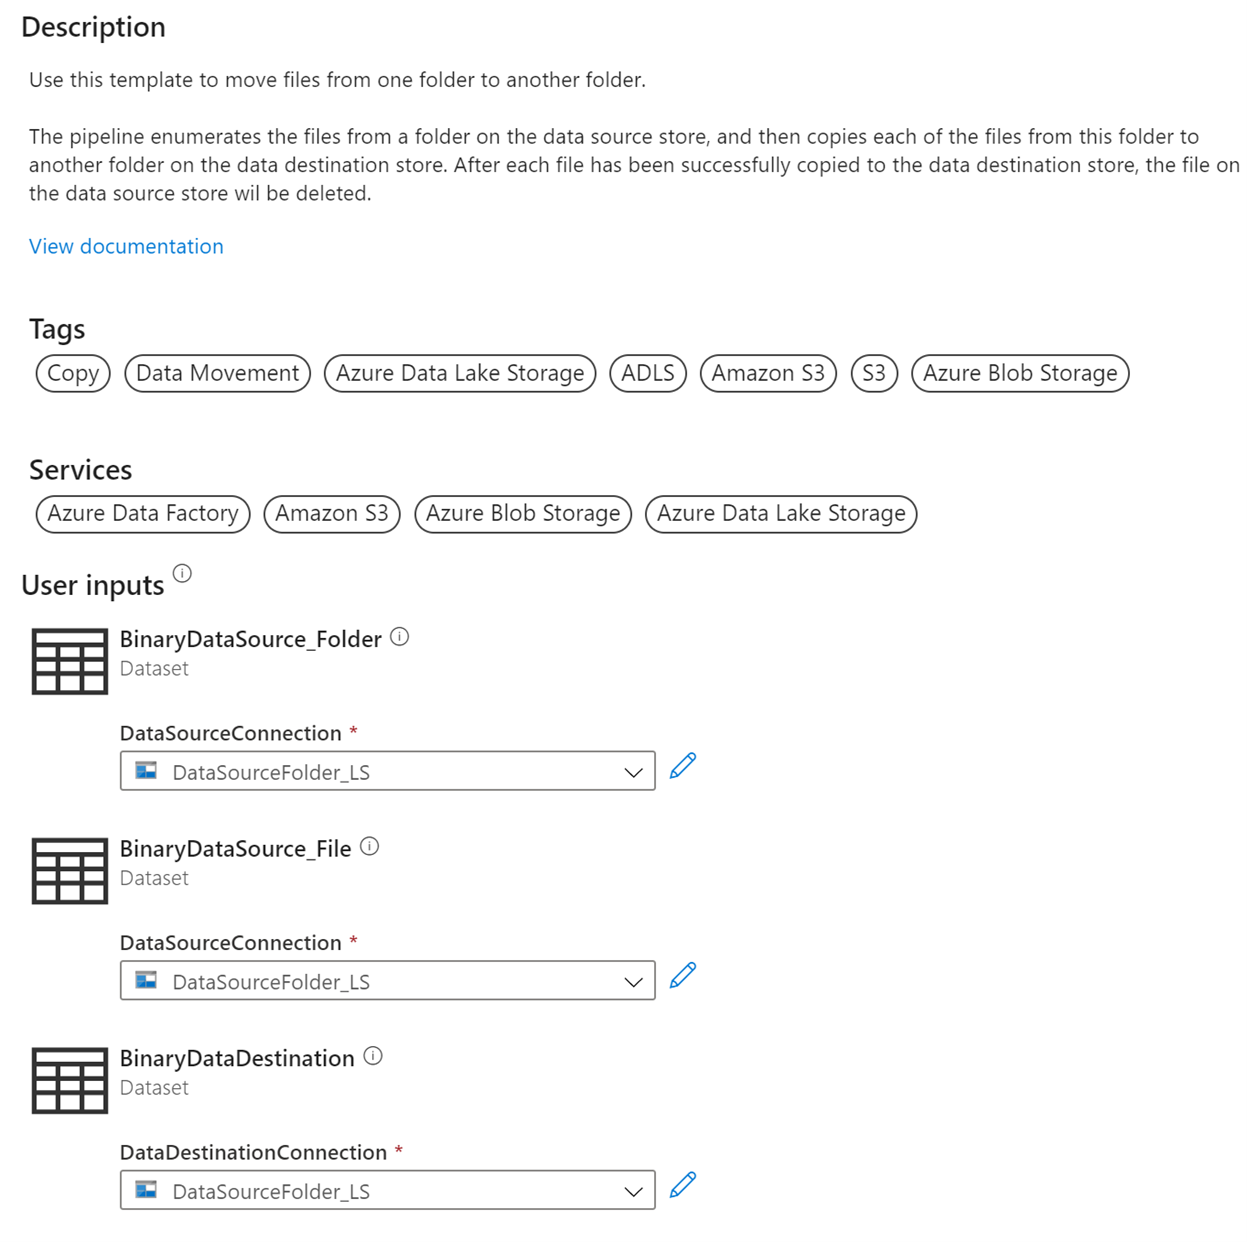
Then select use this template
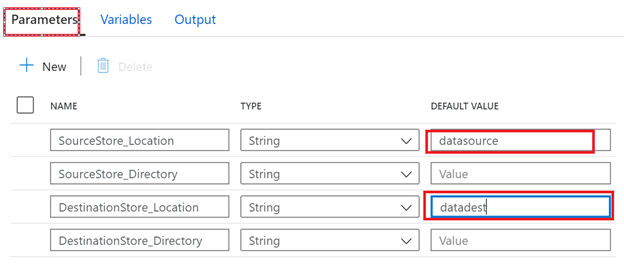
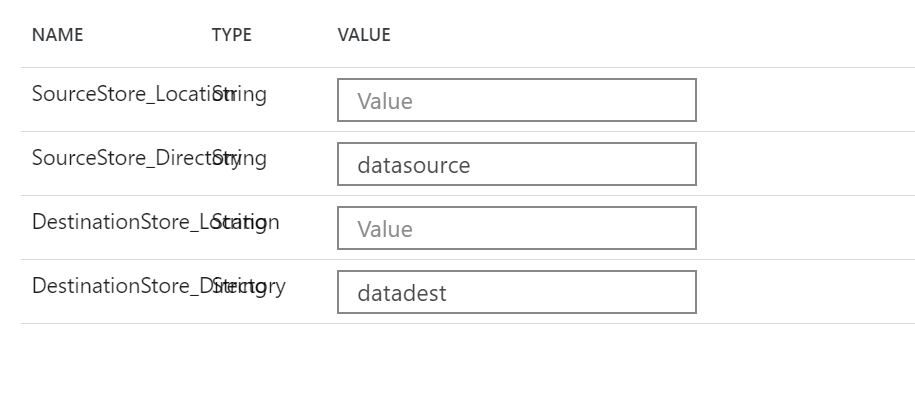
Recall that we created storage containers in each of our environments, lets add them to the parameters inside the ADF pipeline we just created from the template
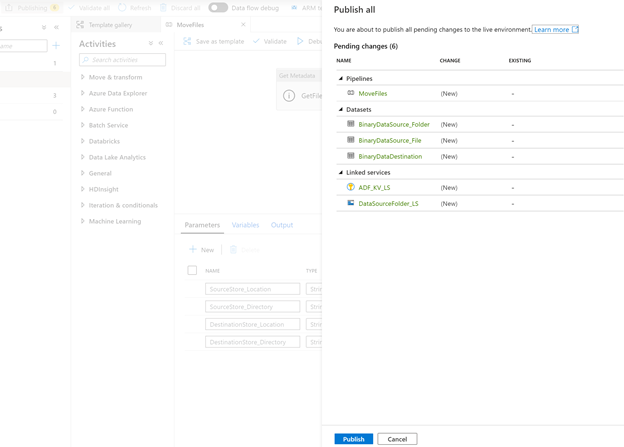
Validate & Publish
If we want, we can go to the storage explorer & view the storage accounts

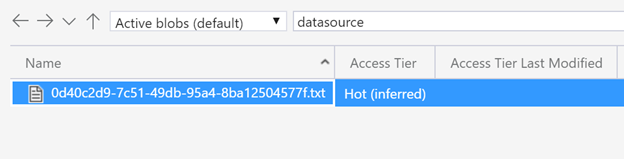
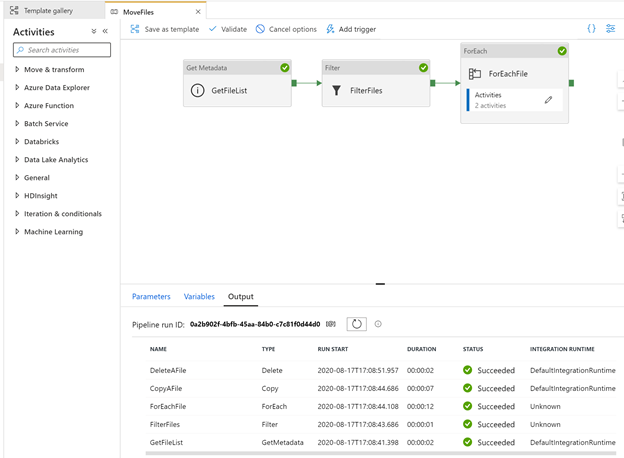
Clicking debug on the pipeline

Clicking on the refresh we can see that it has completed.

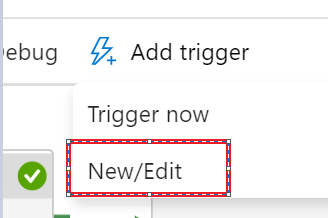
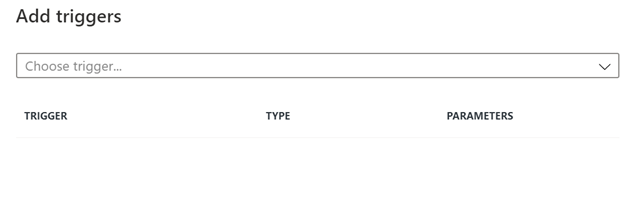
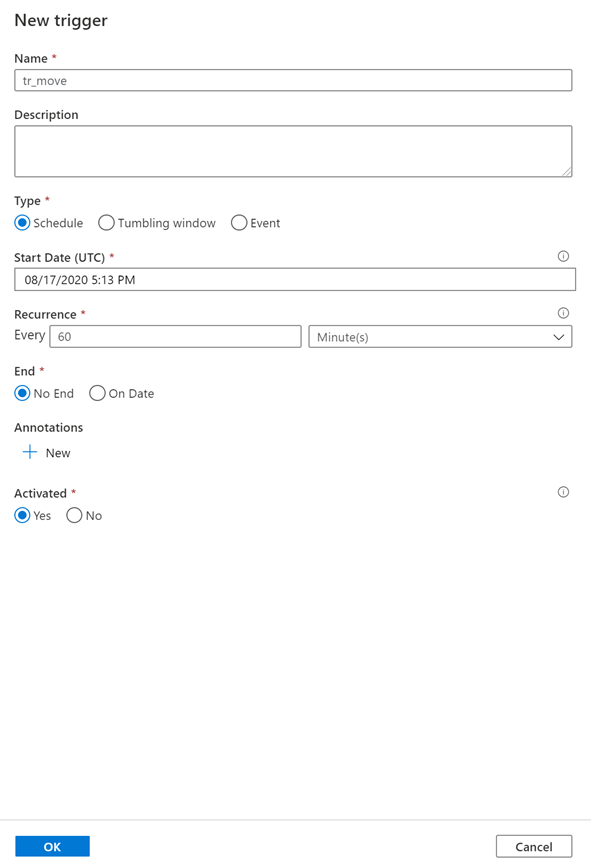
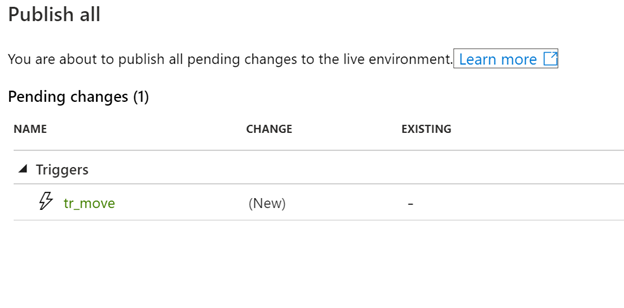
Create a trigger

5. Azure DevOps Setup
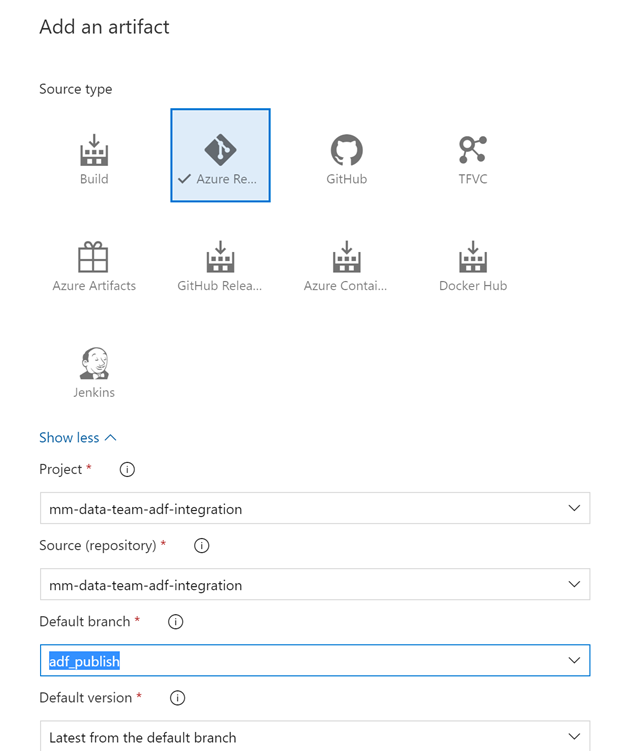
A single Azure Repos Git organization can have multiple repositories, but an Azure Repos Git repository can be associated with only one data factory. If you don’t have an Azure Repos organization or repository, follow these instructions to create your resources.
DevOps Organizations Great resource to check out & Plan Yoour organziational structure

Ideally – you would add your project to an existing DevOps organization. So let’s check what you currently have.
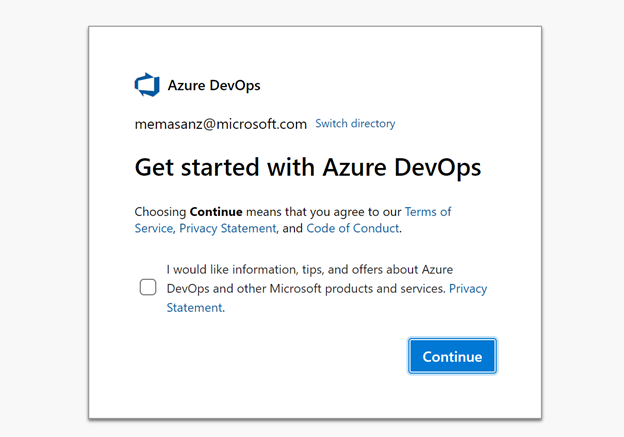
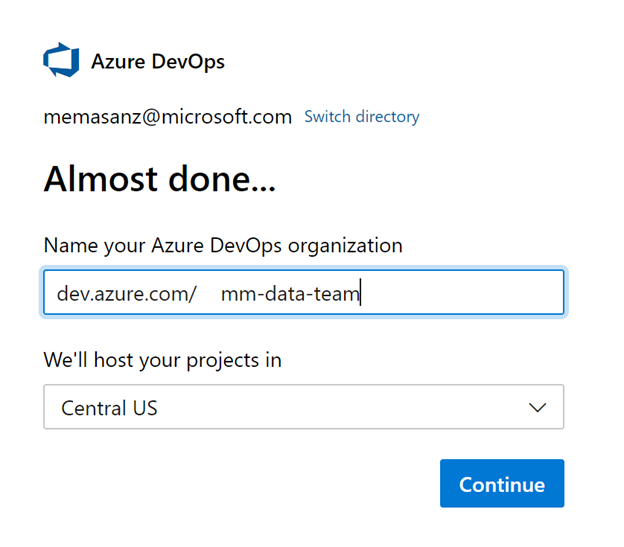
Create a new organization if we need to. This would be a follow up to determine if there is a central team to work with.

Then create a project
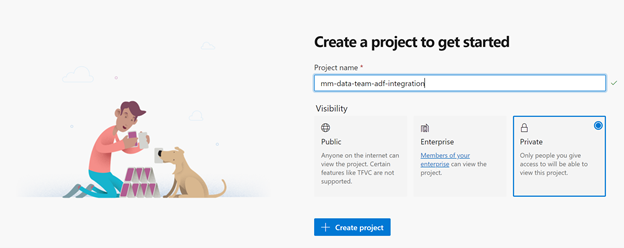
Click on the Create project button
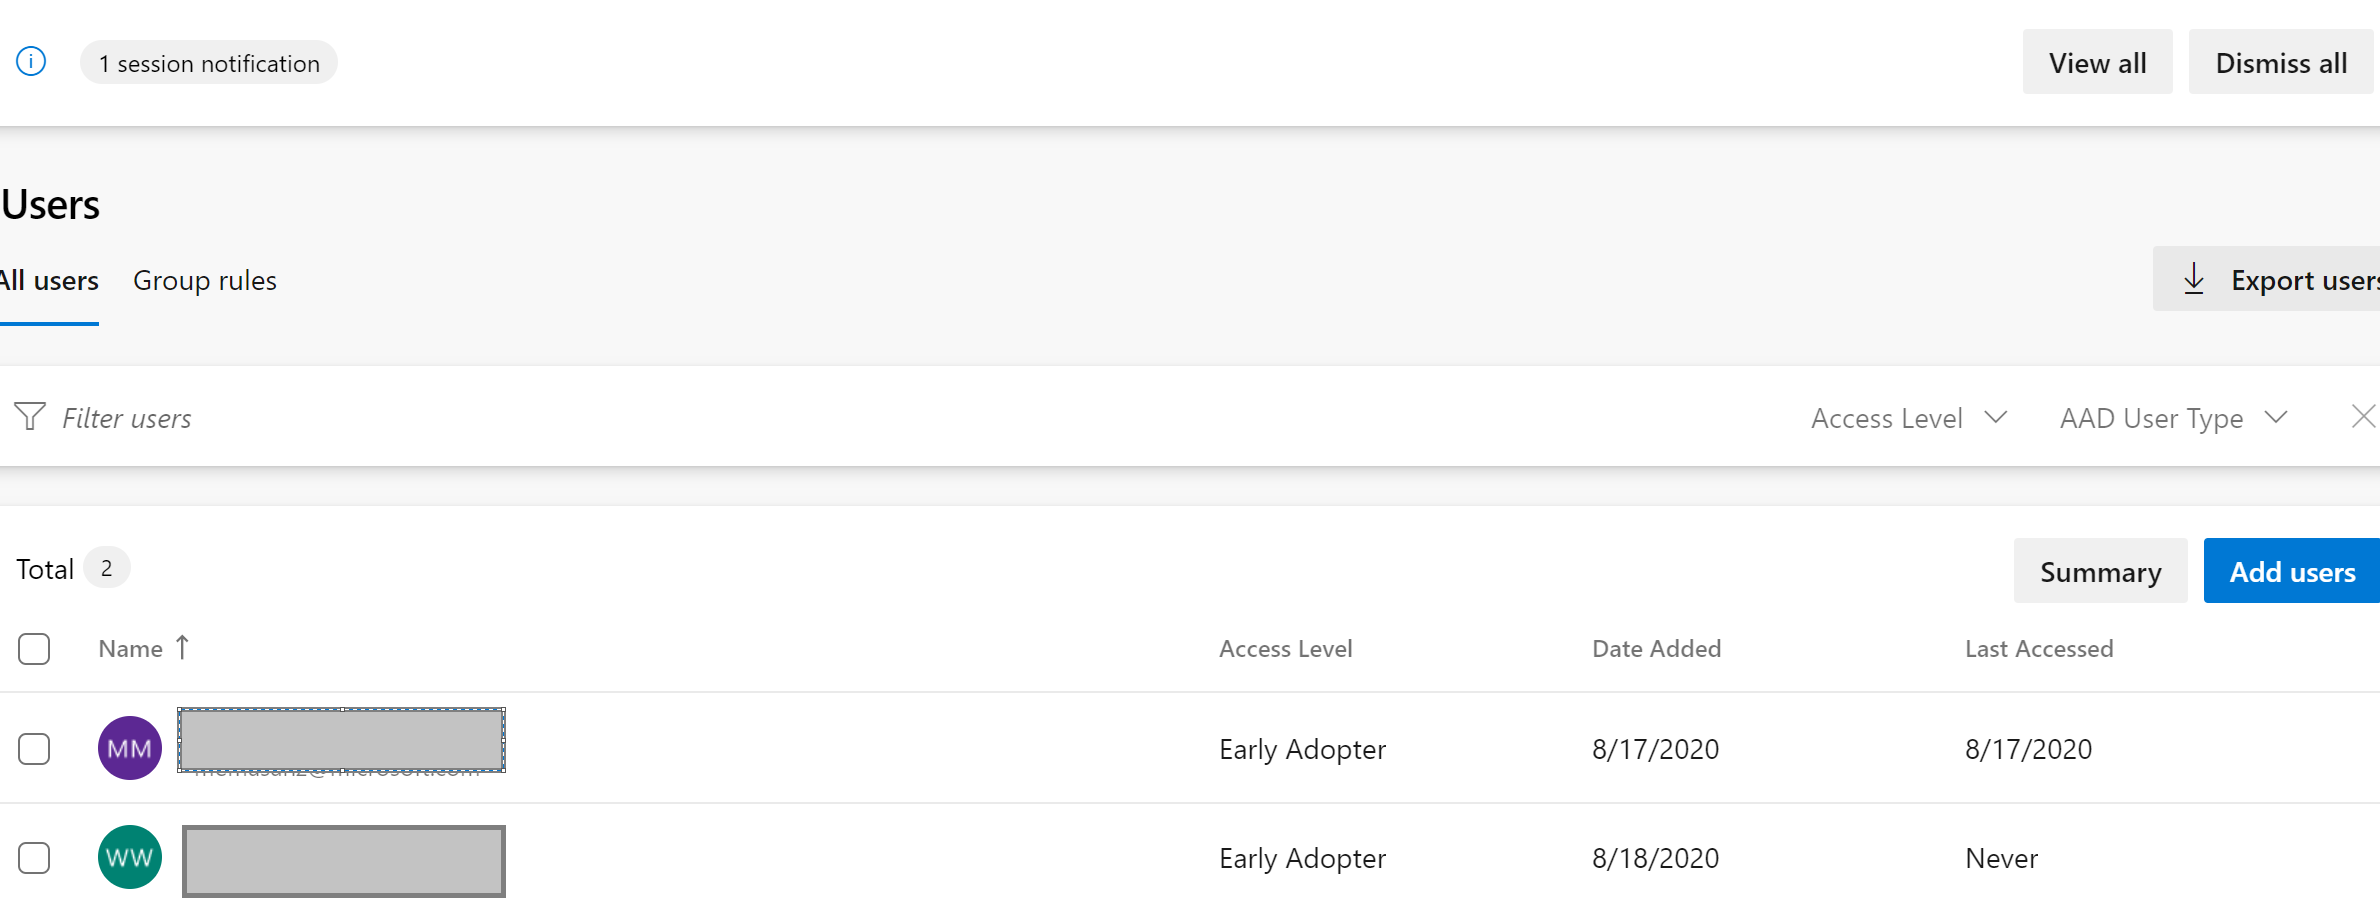
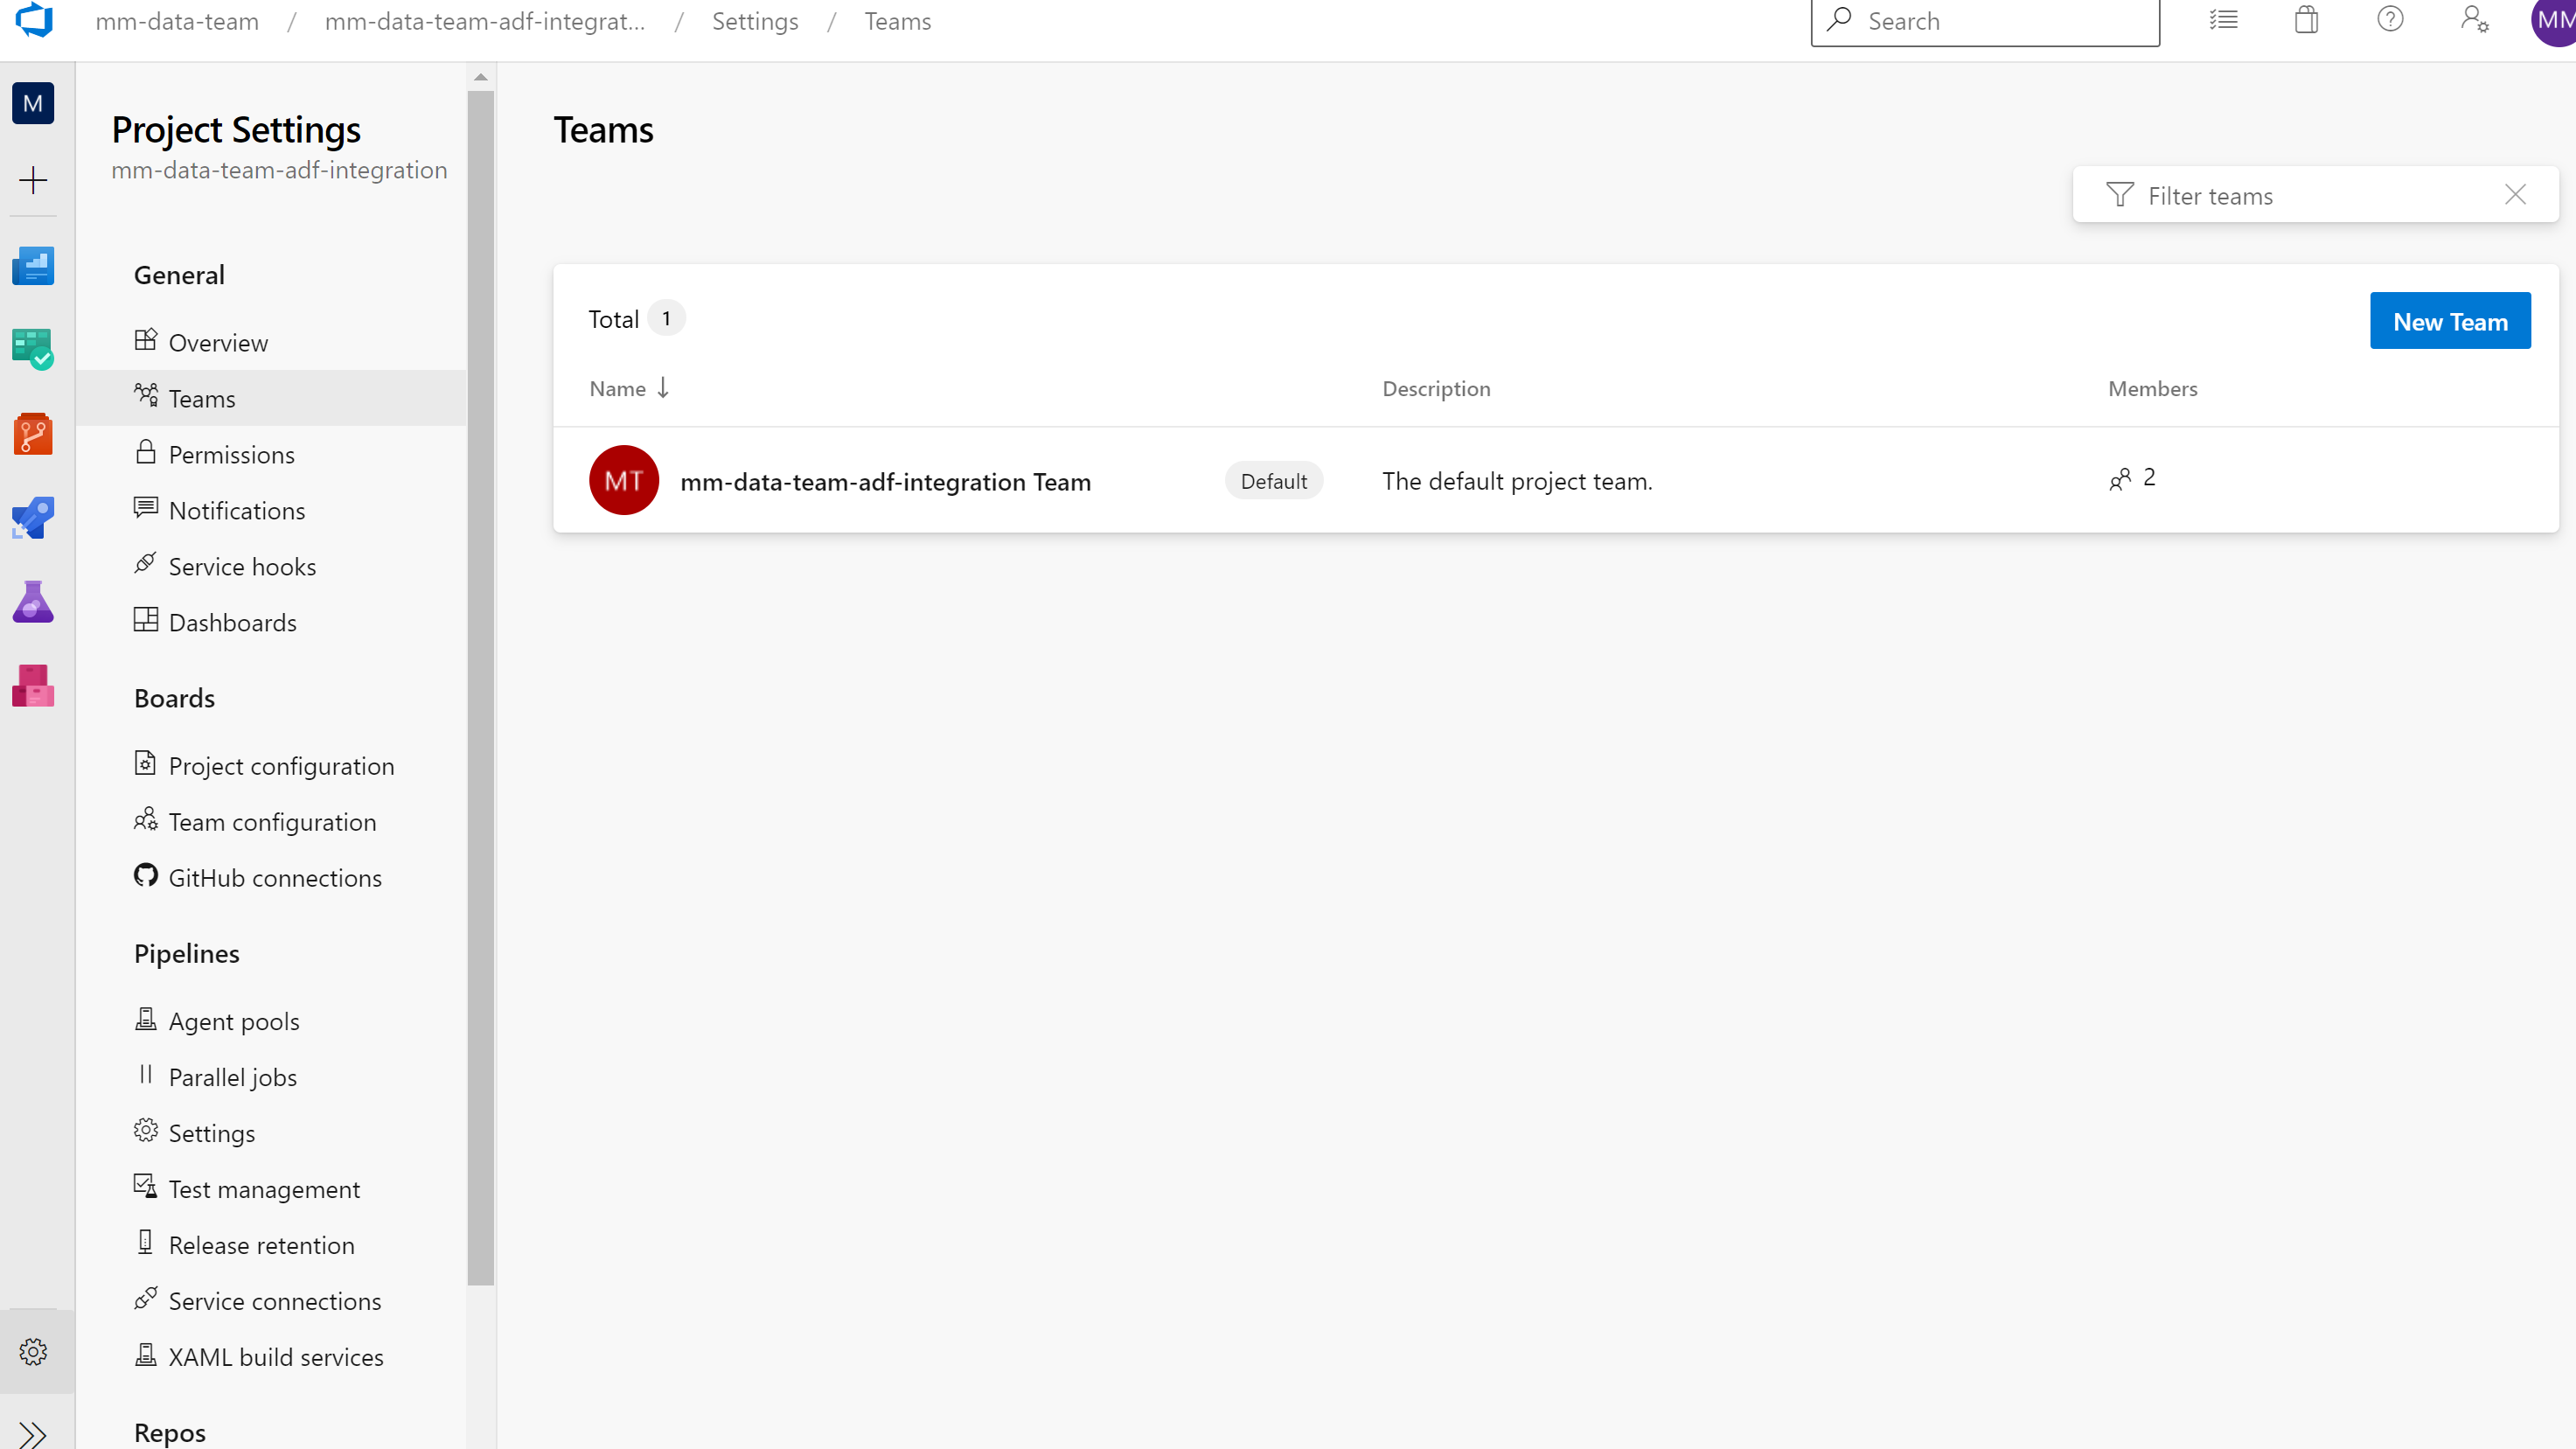
Setup Users
Users need to be added to the organization & to the project
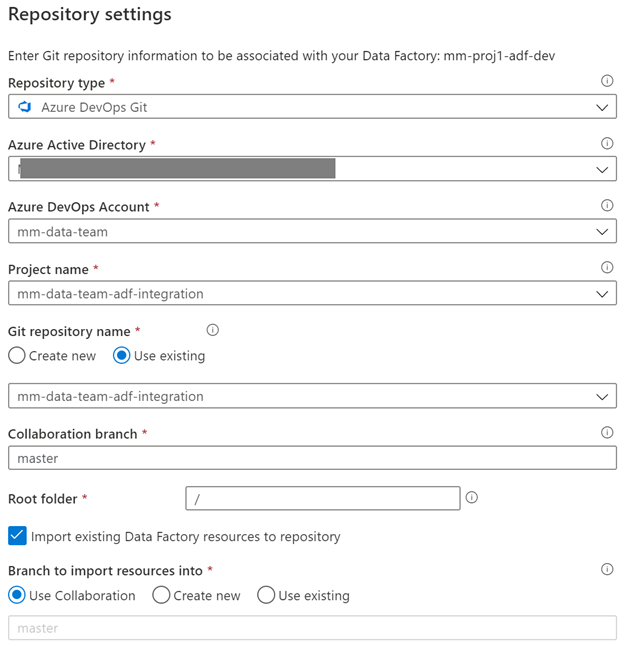
6. Azure Data Factory Link to Azure DevOps
Let’s head back to ADF and setup the link to our newly created project.

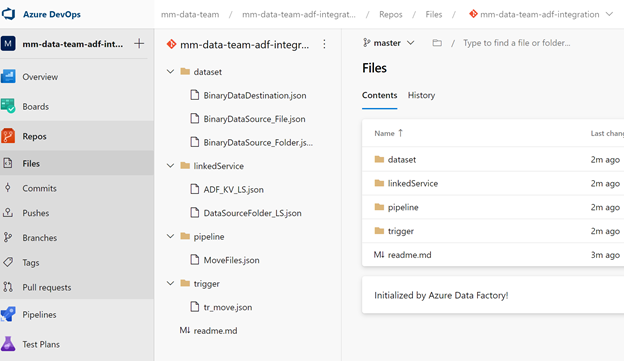
Let’s check back at the repo. We currently only have a master branch.
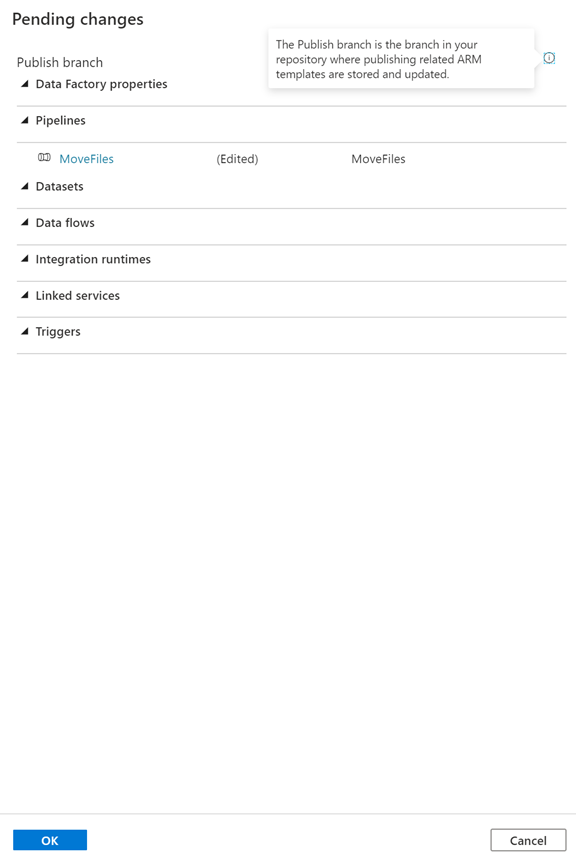
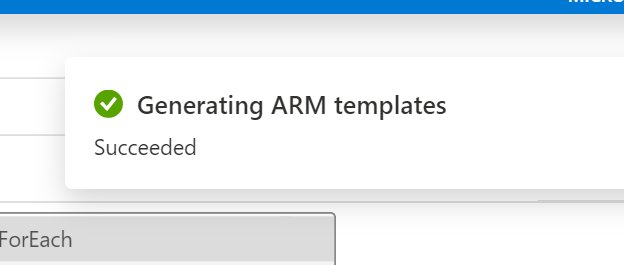
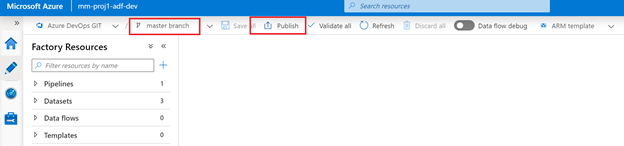
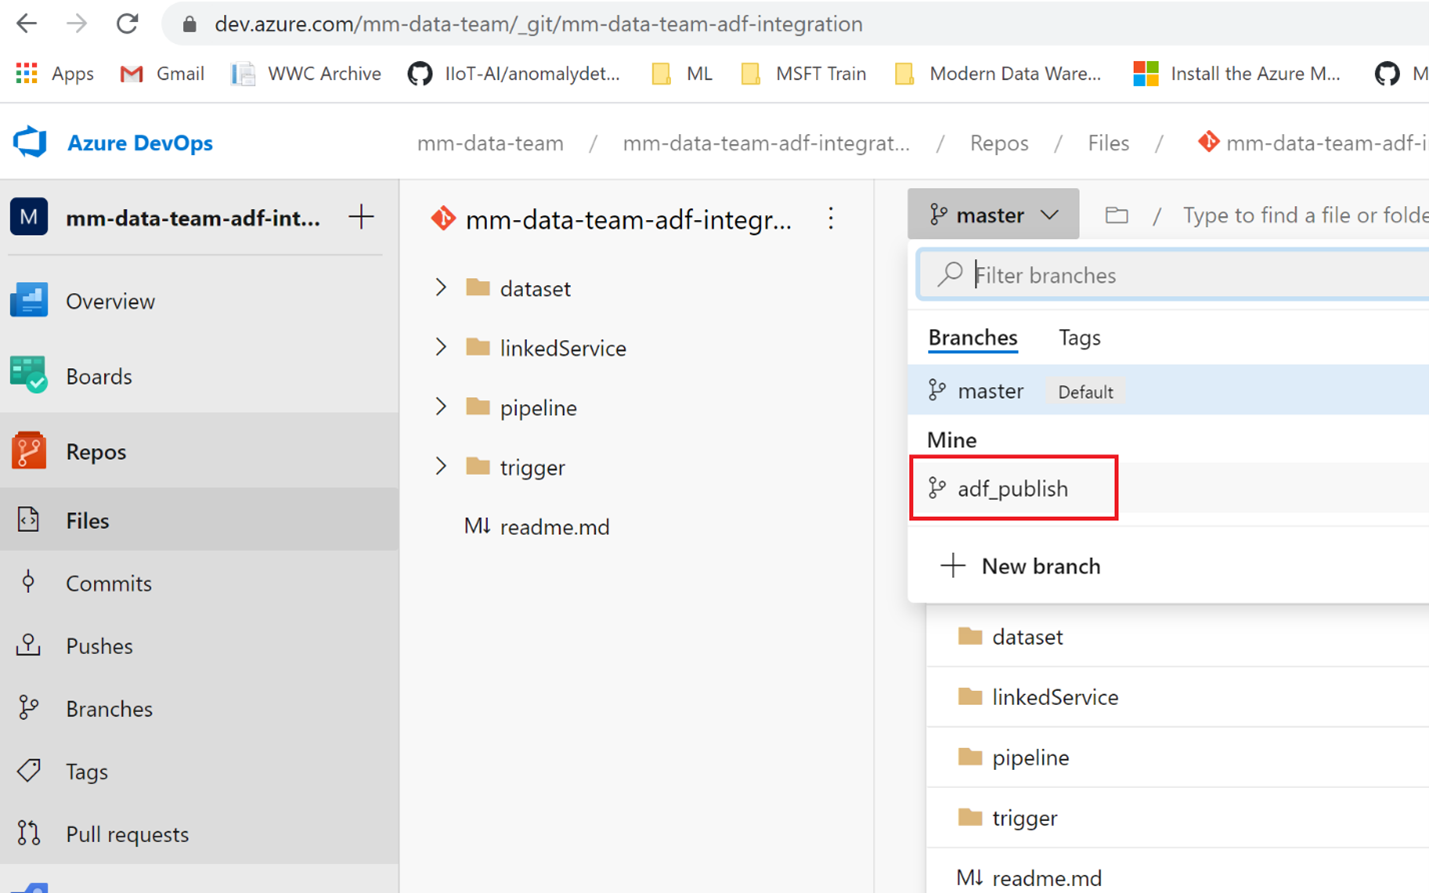
Going back into ADF we can select the ‘Publish’ On the collaboration branch ‘master’ when we publish we are generating the adf_publish branch
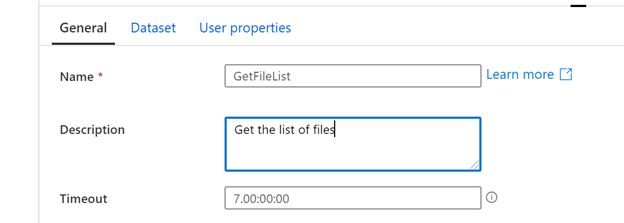
Going back into devOps project we can see the adf_publish branch, but it’s empty. The first time we need to make an arbituary change to generate the full adf_publish branch.
Below is changing the description on the master branch and then publishing
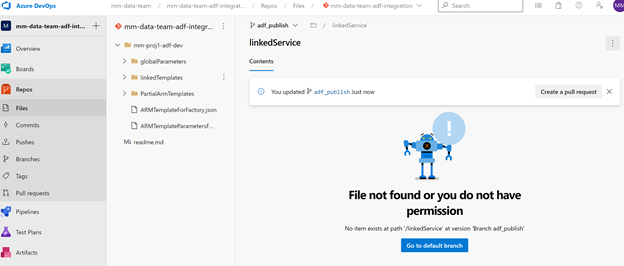
After that – checking the **adf_publish(( branch will have the code.
However, it is empty.
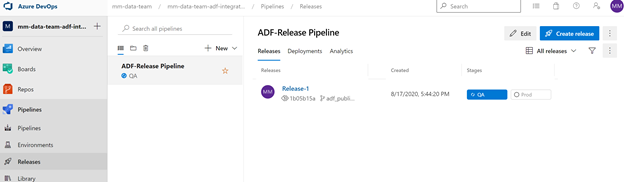
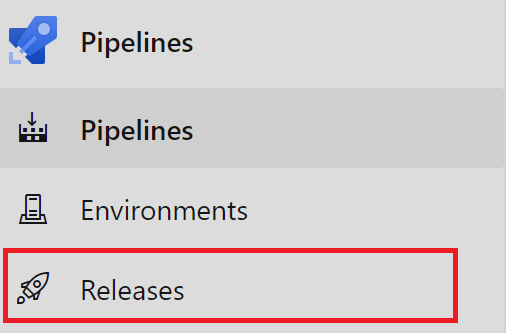
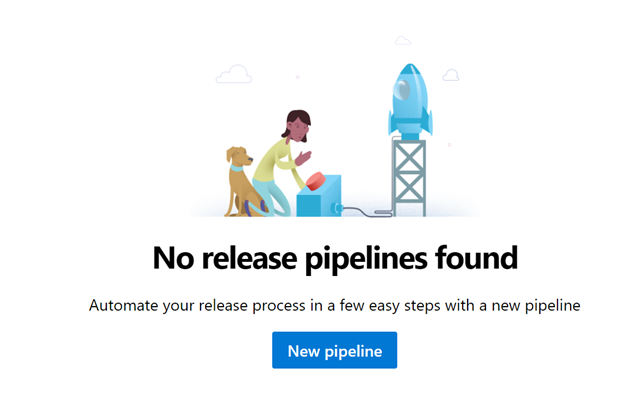
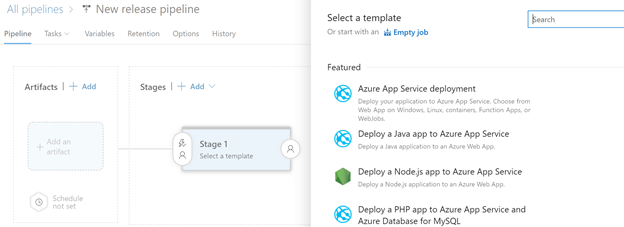
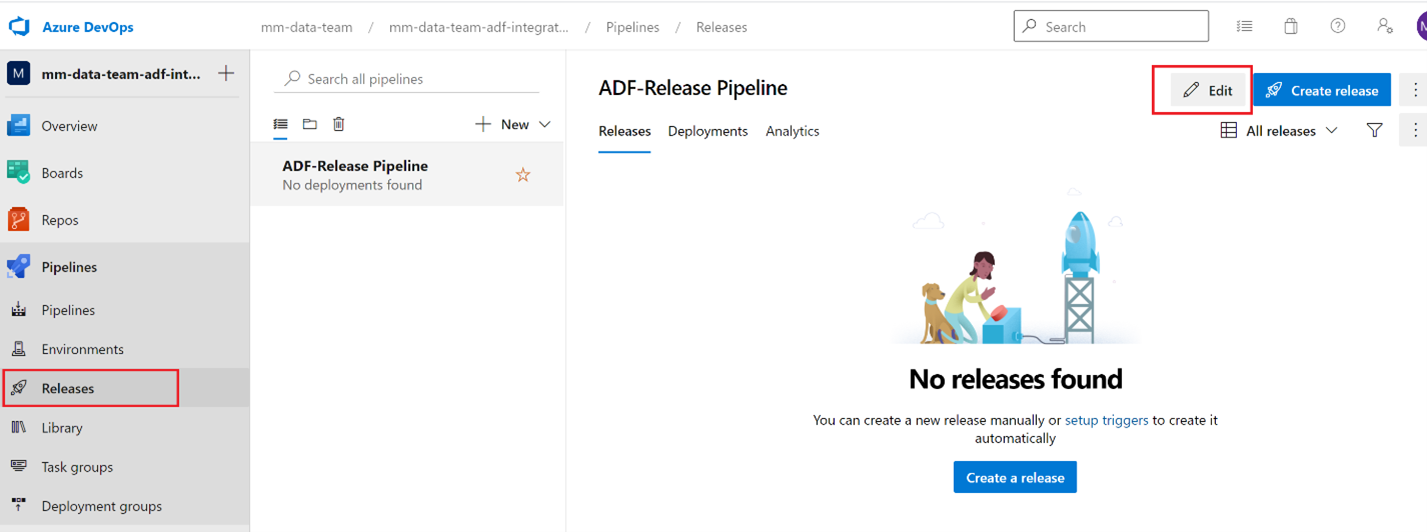
Create a Release Pipeline
Select an Empty Job
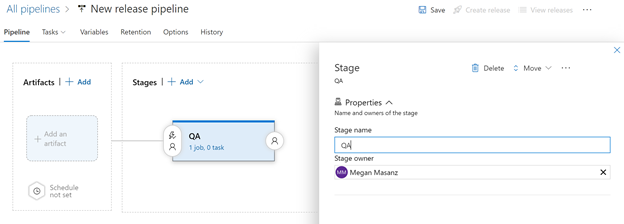
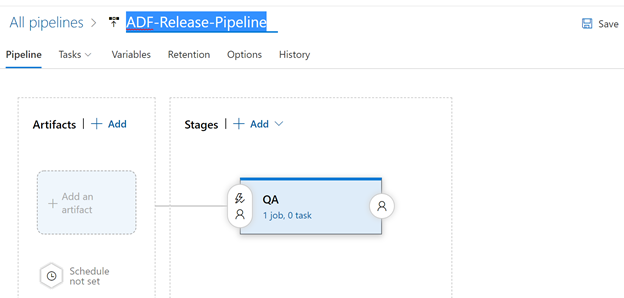
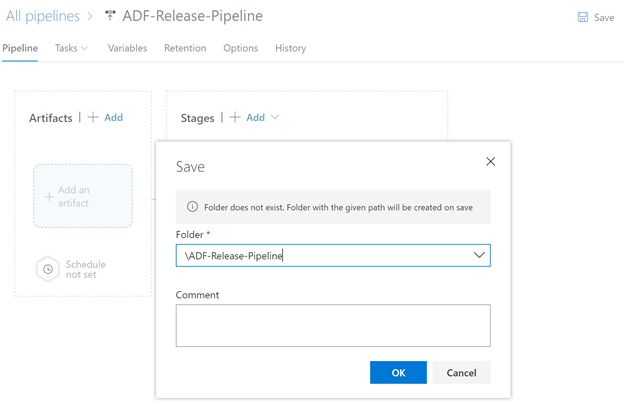
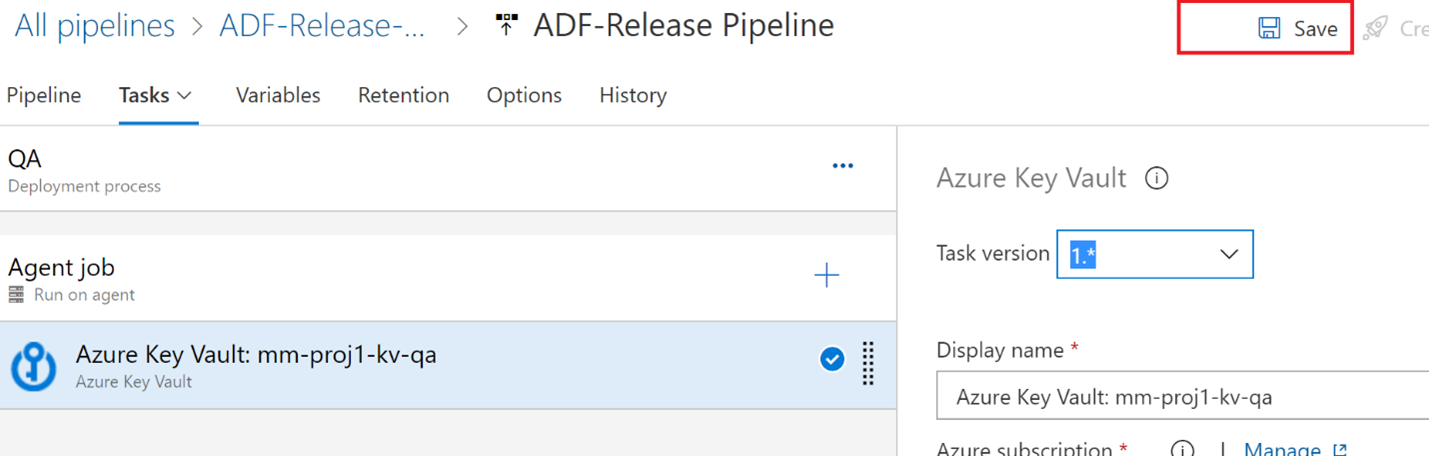
Rename the Stage to QA, close it with the X and rename the New release pipeline to ADF-Release-Pipeline
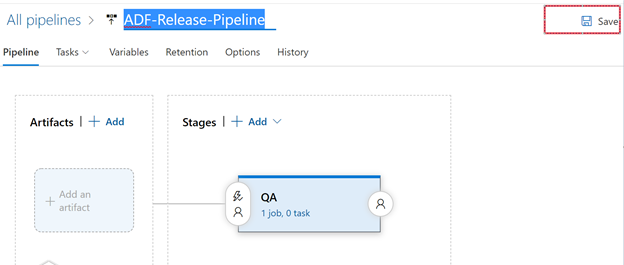
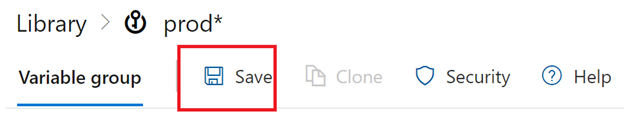
Don’t forget to hit the Save button.
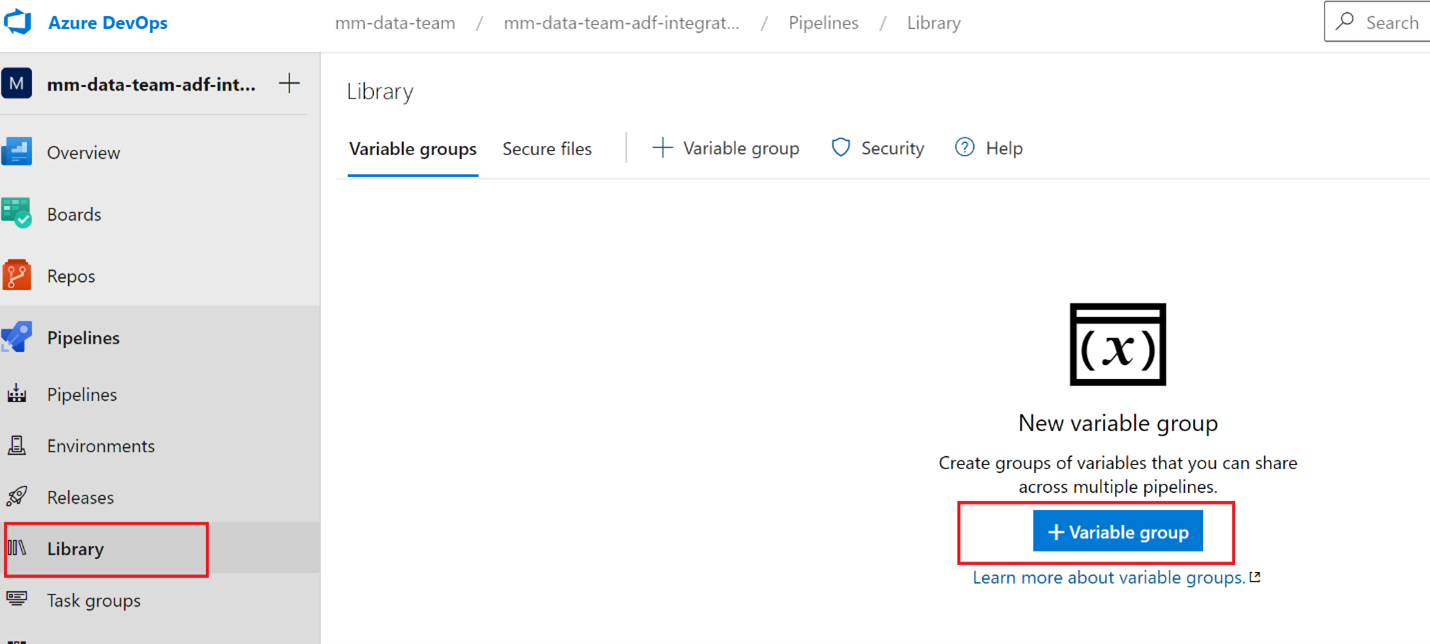
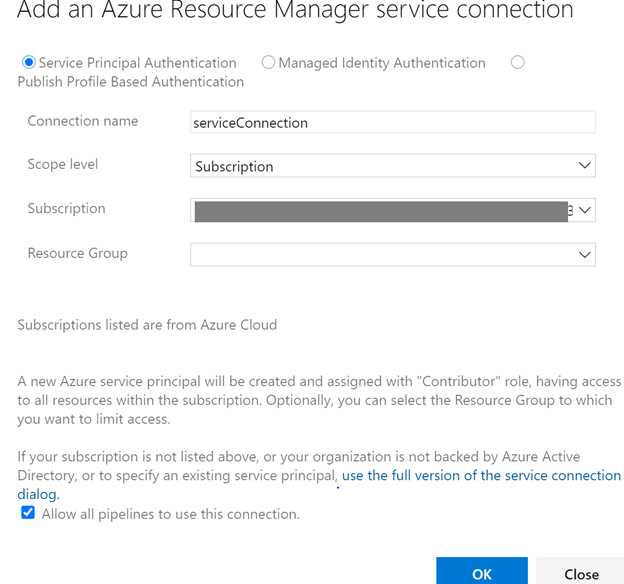
We will go and create some variable groups
Create variable groups
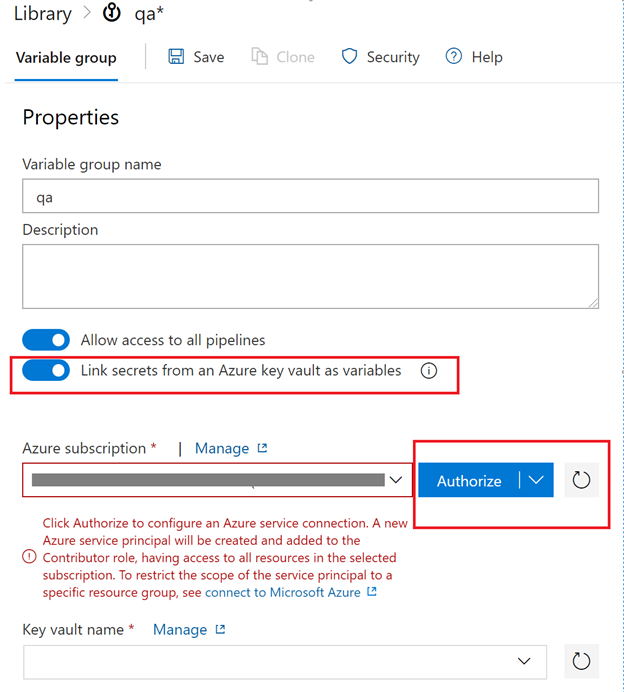
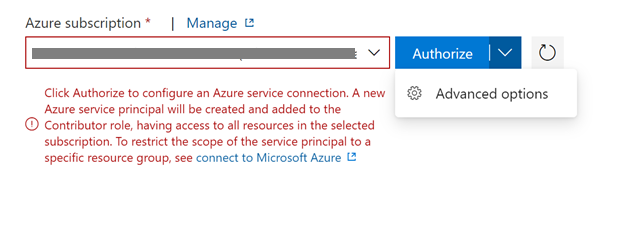
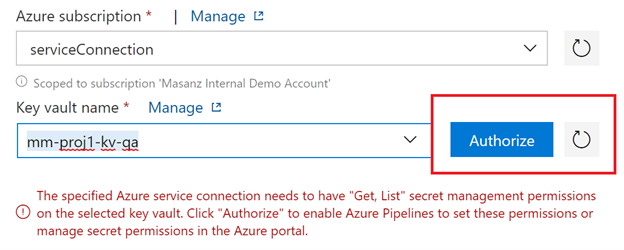
Next we will add the variables from key vault.
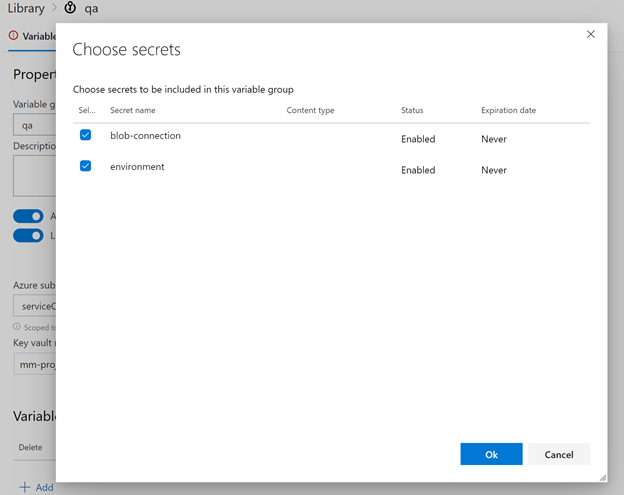
Then save the variable group

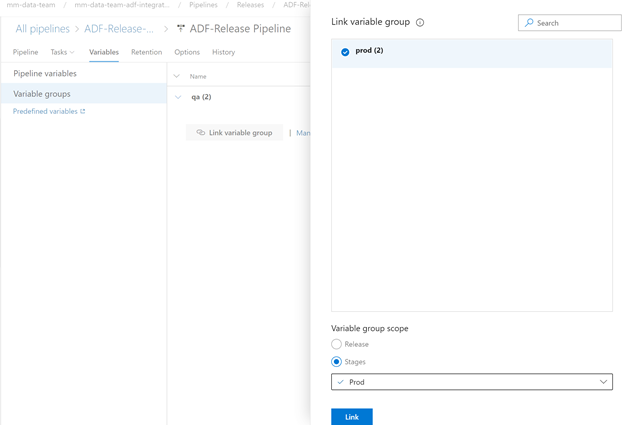
Create Prod Variable Group and Authorize
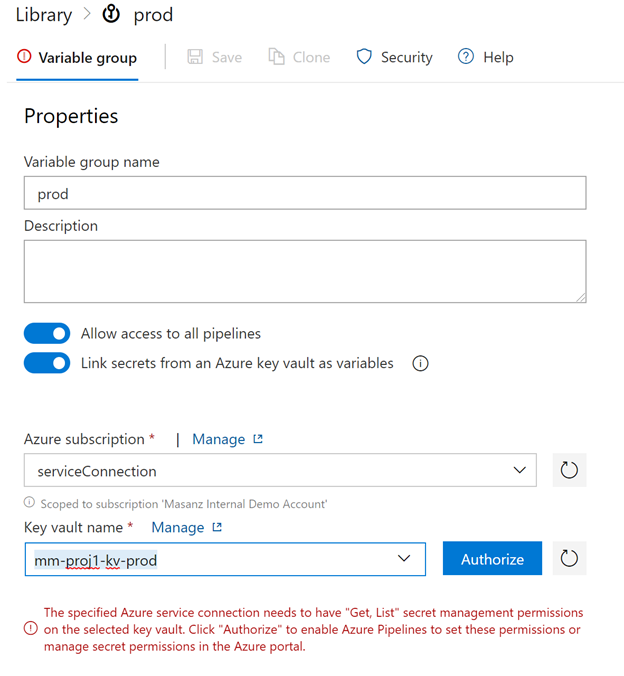
Then Add the prod variables

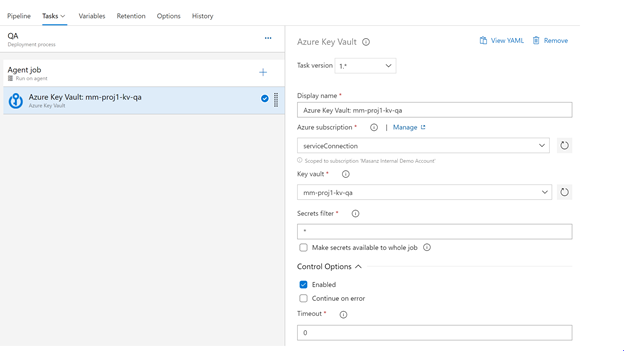
Now that we have the variable groups to use in the release pipeline we will go ahead and set them up.
Let’s go back into the releases
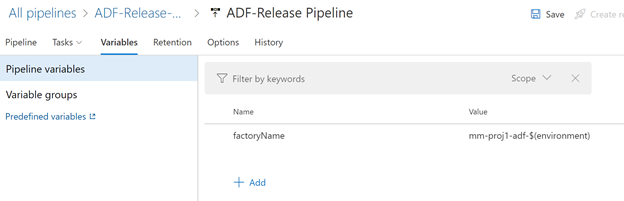
Setting up deployment Variables
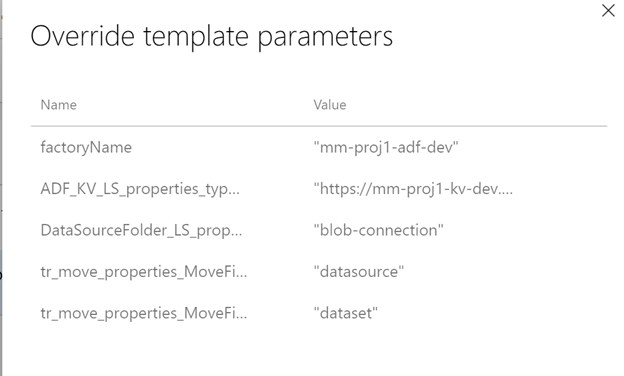
Looking at the adf_publish branch you can see several variables.
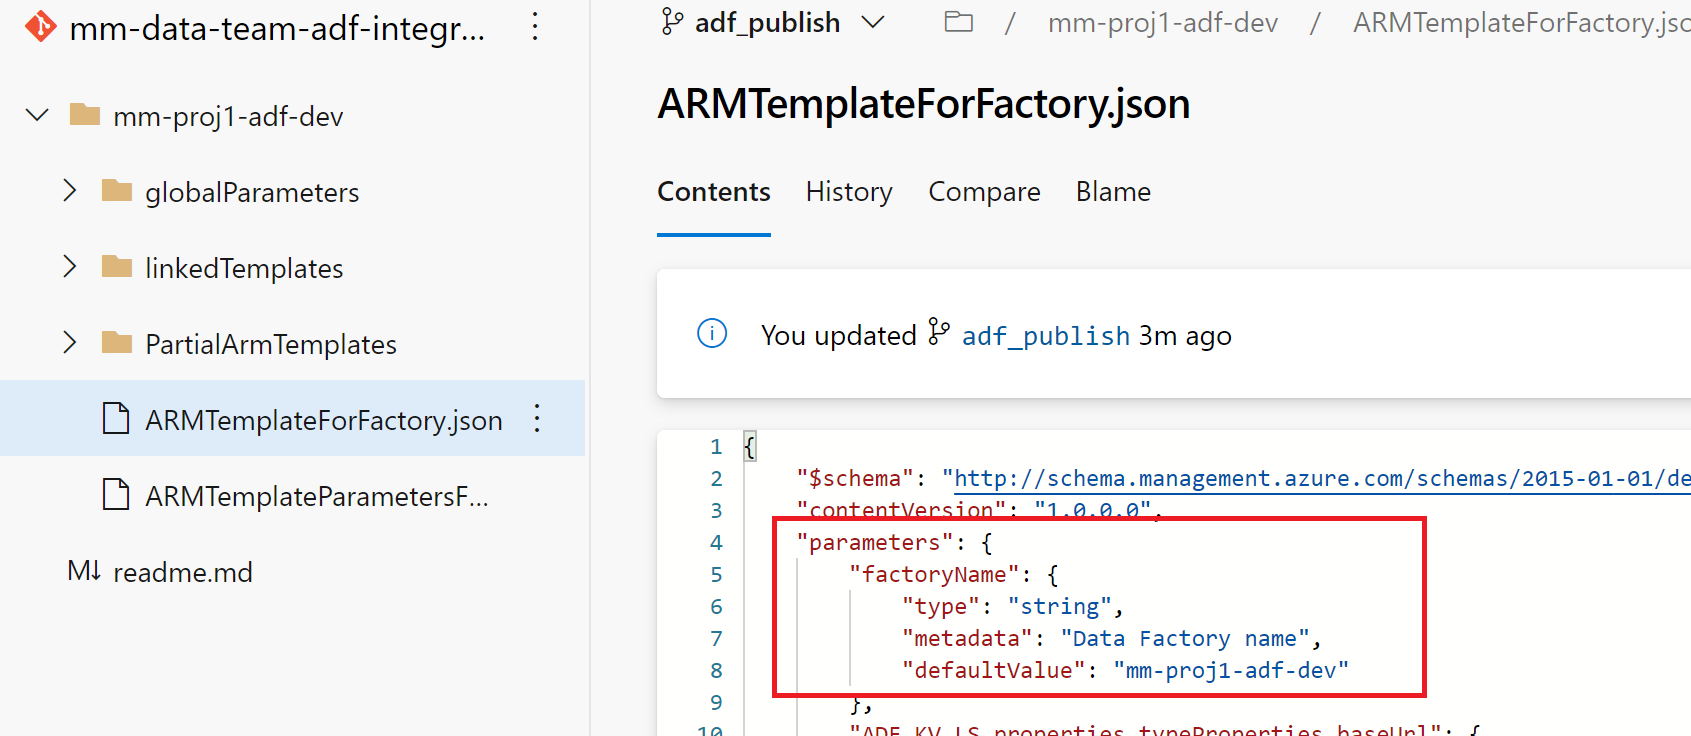
factoryName is a pipeline variable
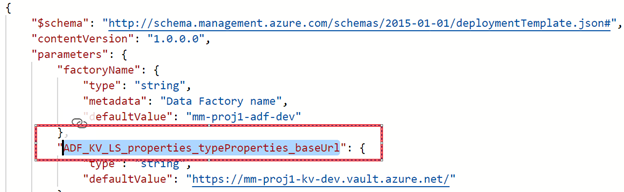
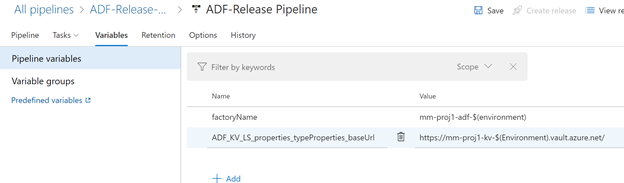

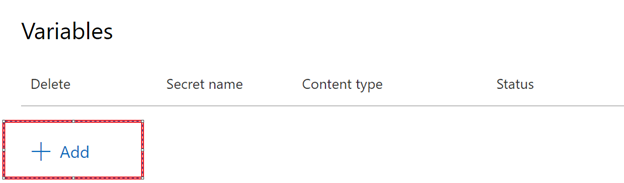
Setting up the

Click the Add button
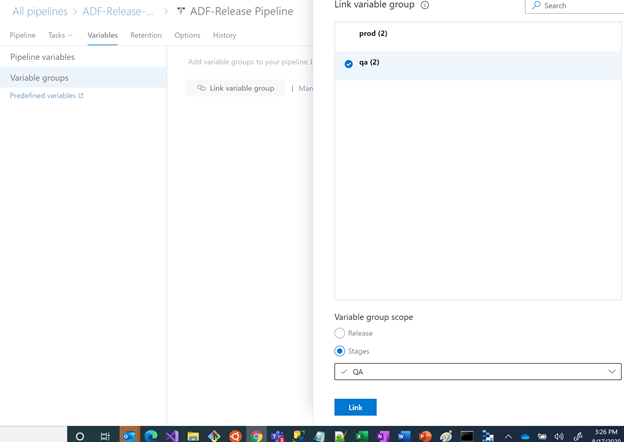
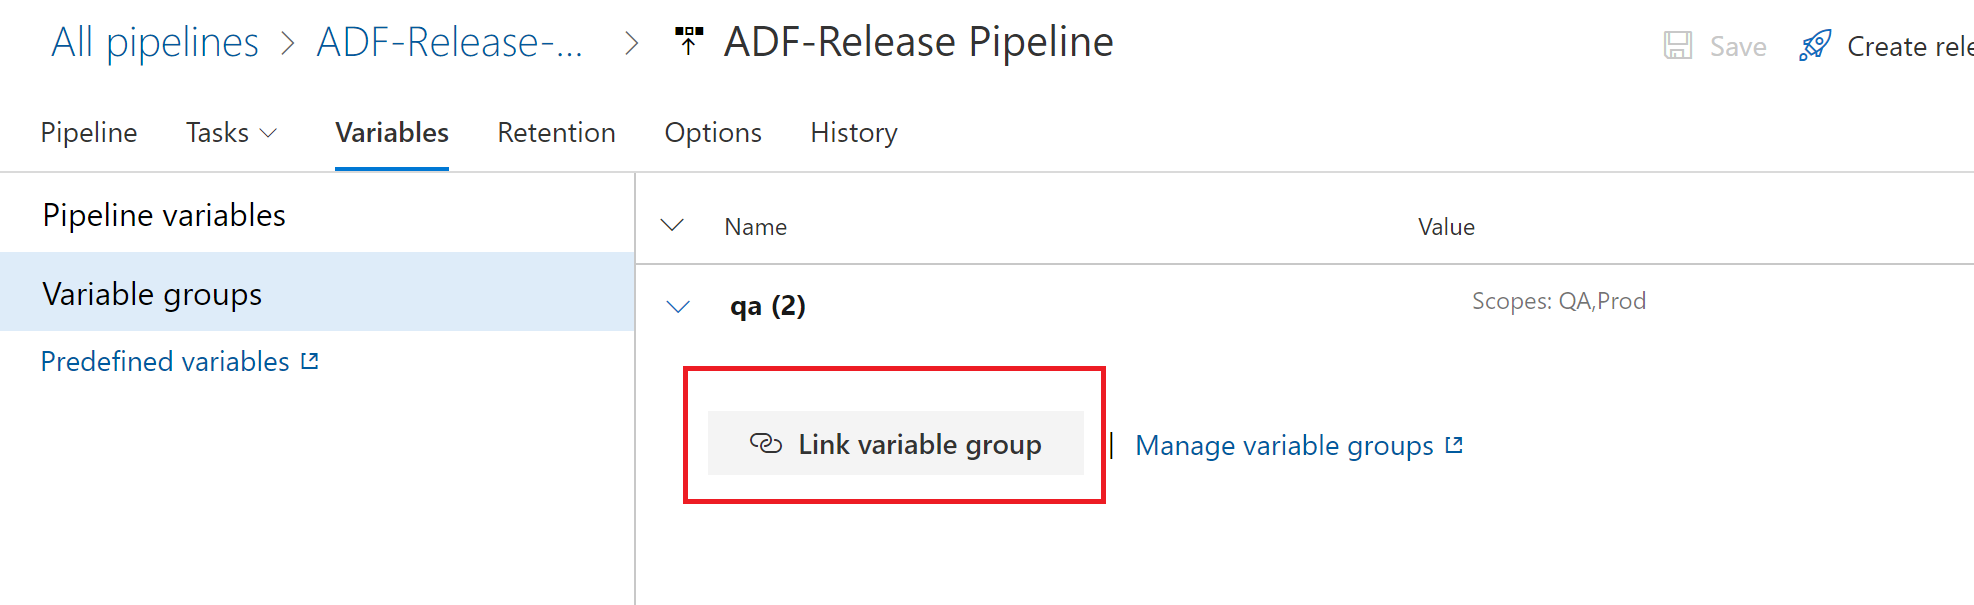
Linking Variable Groups
Link qa to QA Stage
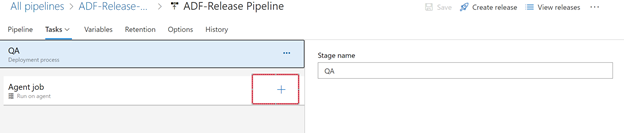
Add another task
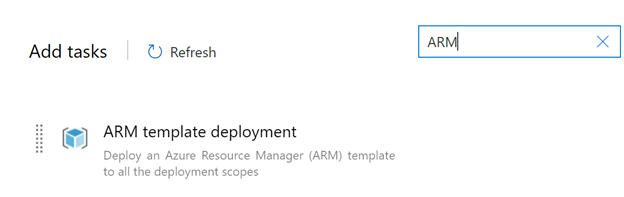
Click the Add Button
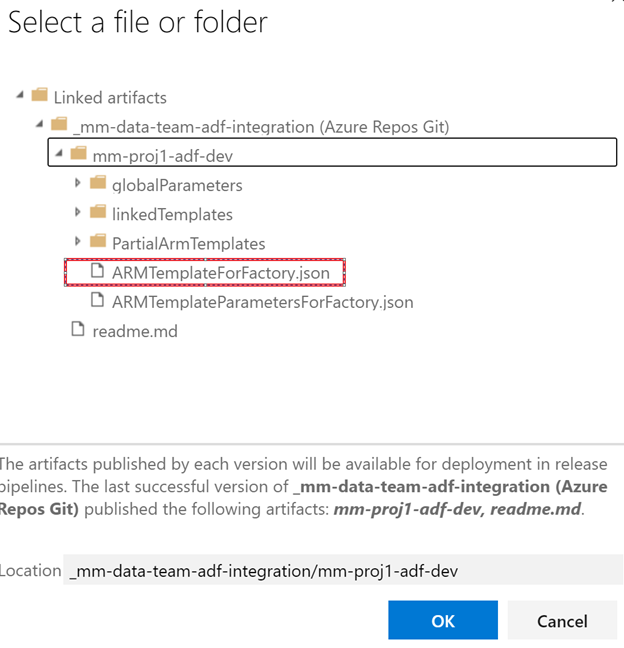
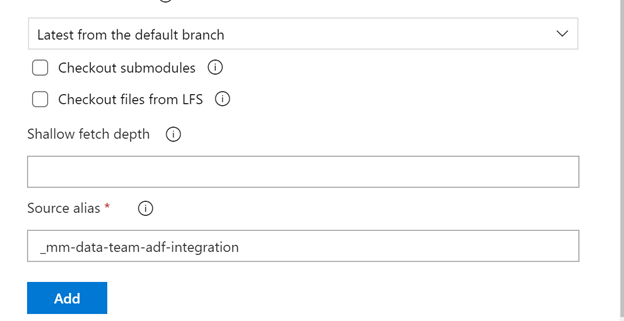
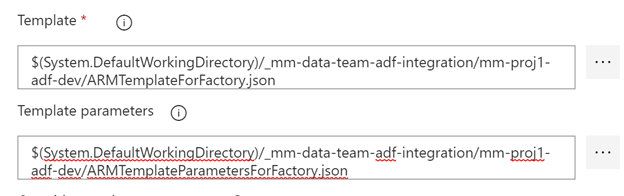
Select the template and template parameter files
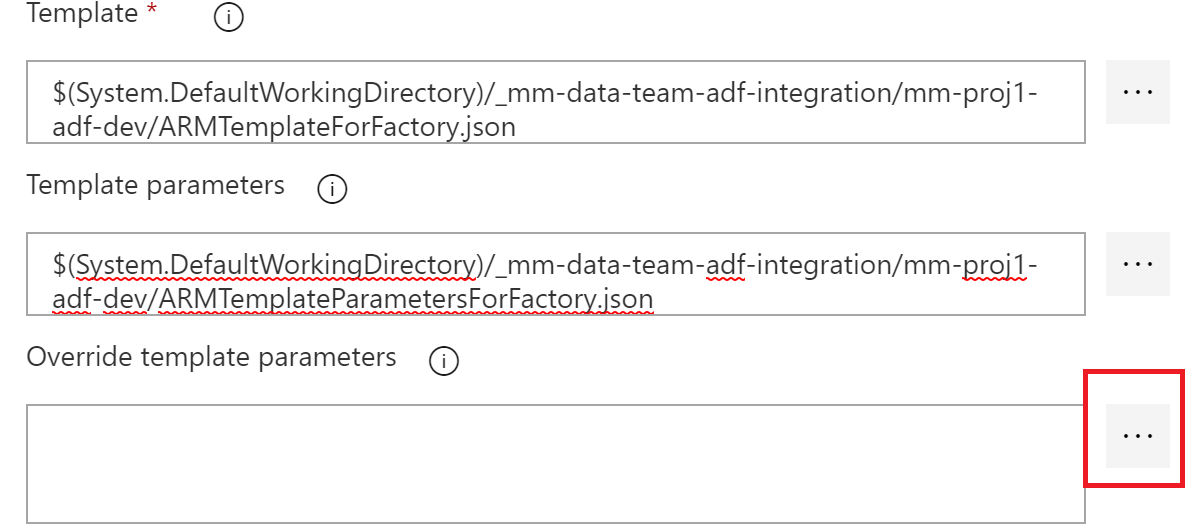
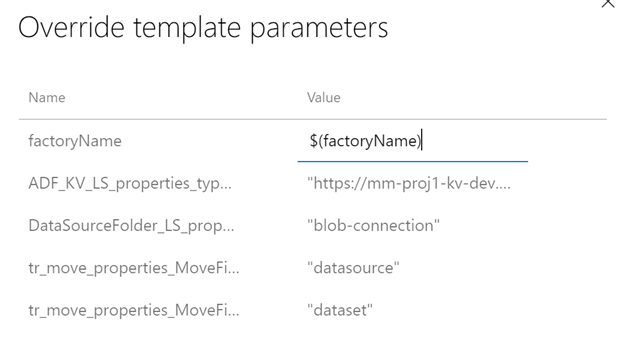
Override the factoryName with $(factoryName)
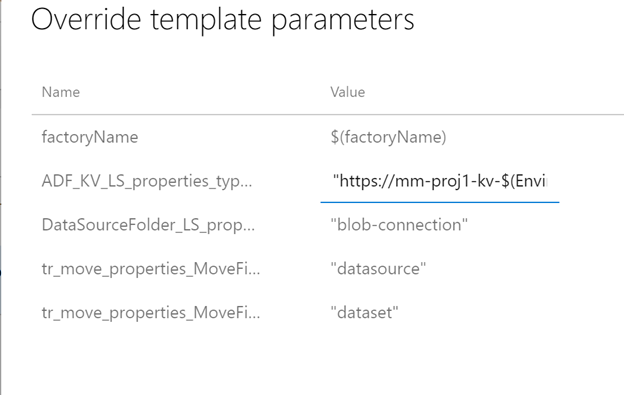
Make sure you select Incremental

We need to disable and enable triggers in the adf_publish branch. We can add the script to the adf_publish branch.
https://docs.microsoft.com/en-us/azure/data-factory/continuous-integration-deployment#script
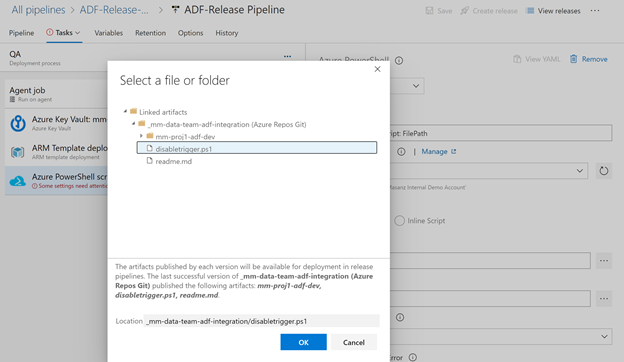
https://github.com/memasanz/ADFCICID/blob/master/powershellscript/disabletrigger.ps1

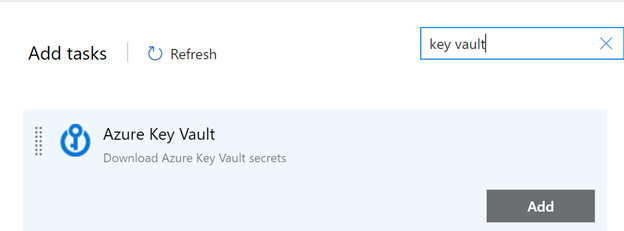
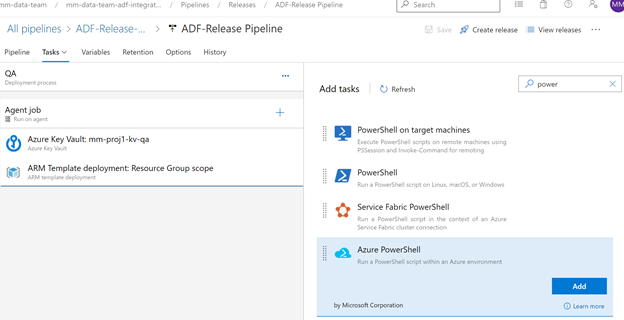
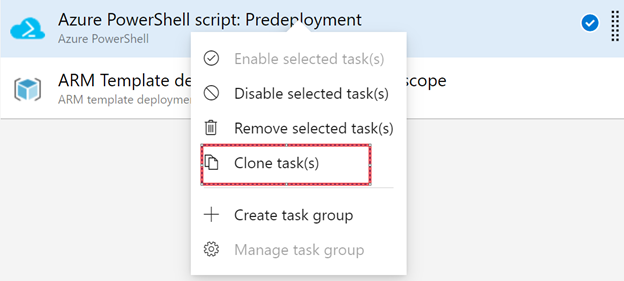
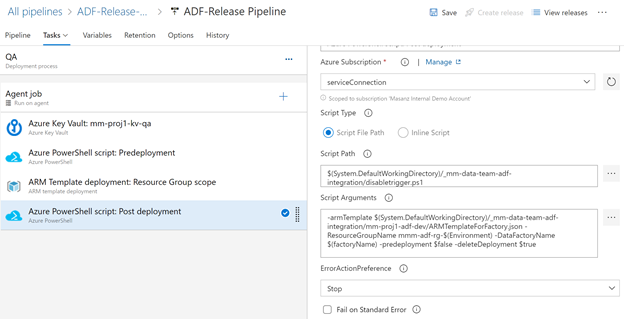
So now we can add an Azure Power Shell task to the release pipeline
-armTemplate $(System.DefaultWorkingDirectory)/_mm-data-team-adf-integration/mm-proj1-adf-dev/ARMTemplateForFactory.json -ResourceGroupName mm-proj1-rg-$(Environment) -DataFactoryName $(factoryName) -predeployment $true -deleteDeployment $false
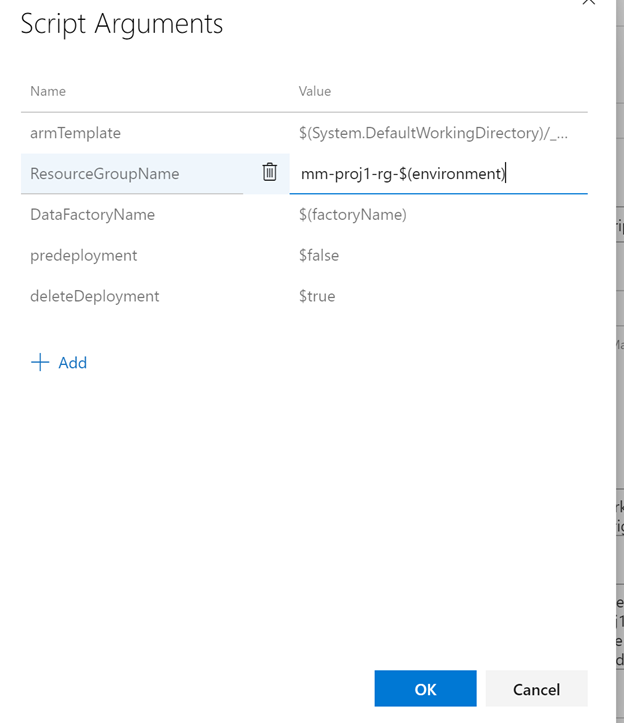
In the post deploy task, update the ‘predeployment’ to be false, and the ‘deleteDeployment’ to be true, it will remove unused resources from ADF (like linked services etc).
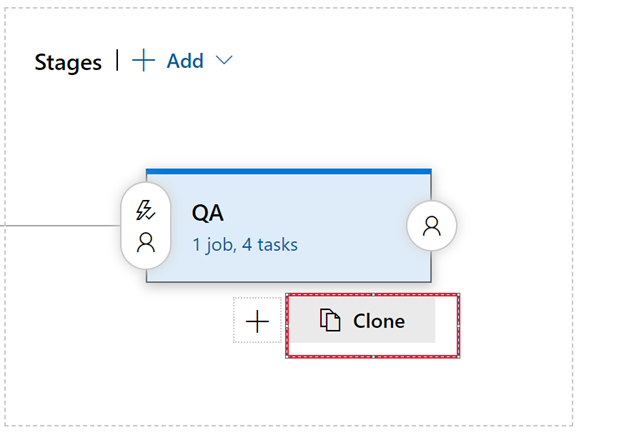
Save and clone the QA to create prod
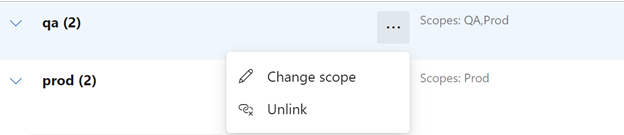
Now that we have cloned the production we will need to manage our variable groups
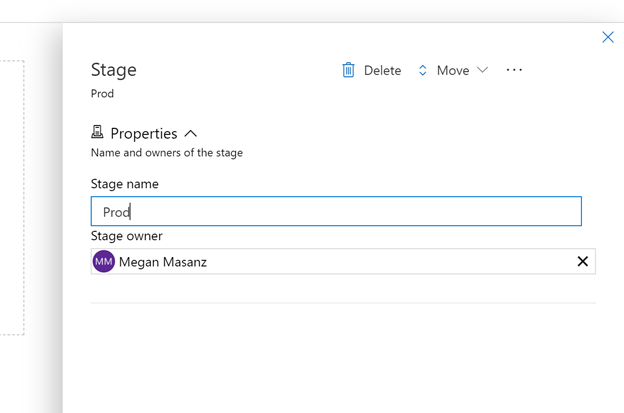
Change the scope of qa to only be for QA Then Save
Almost Done. Confirm in key vaults that for stage and prod that the service connection has proper access.
Setup continuous integration:
Set pre-deployment for prod & Save

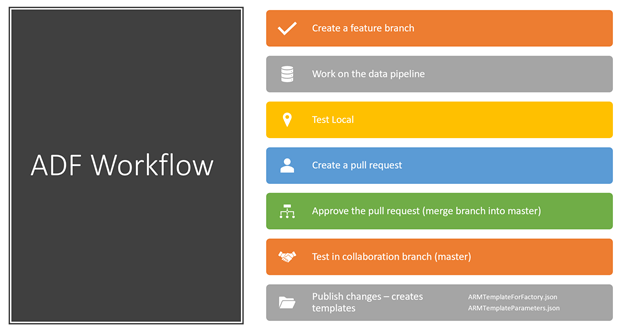
ADF Workflow
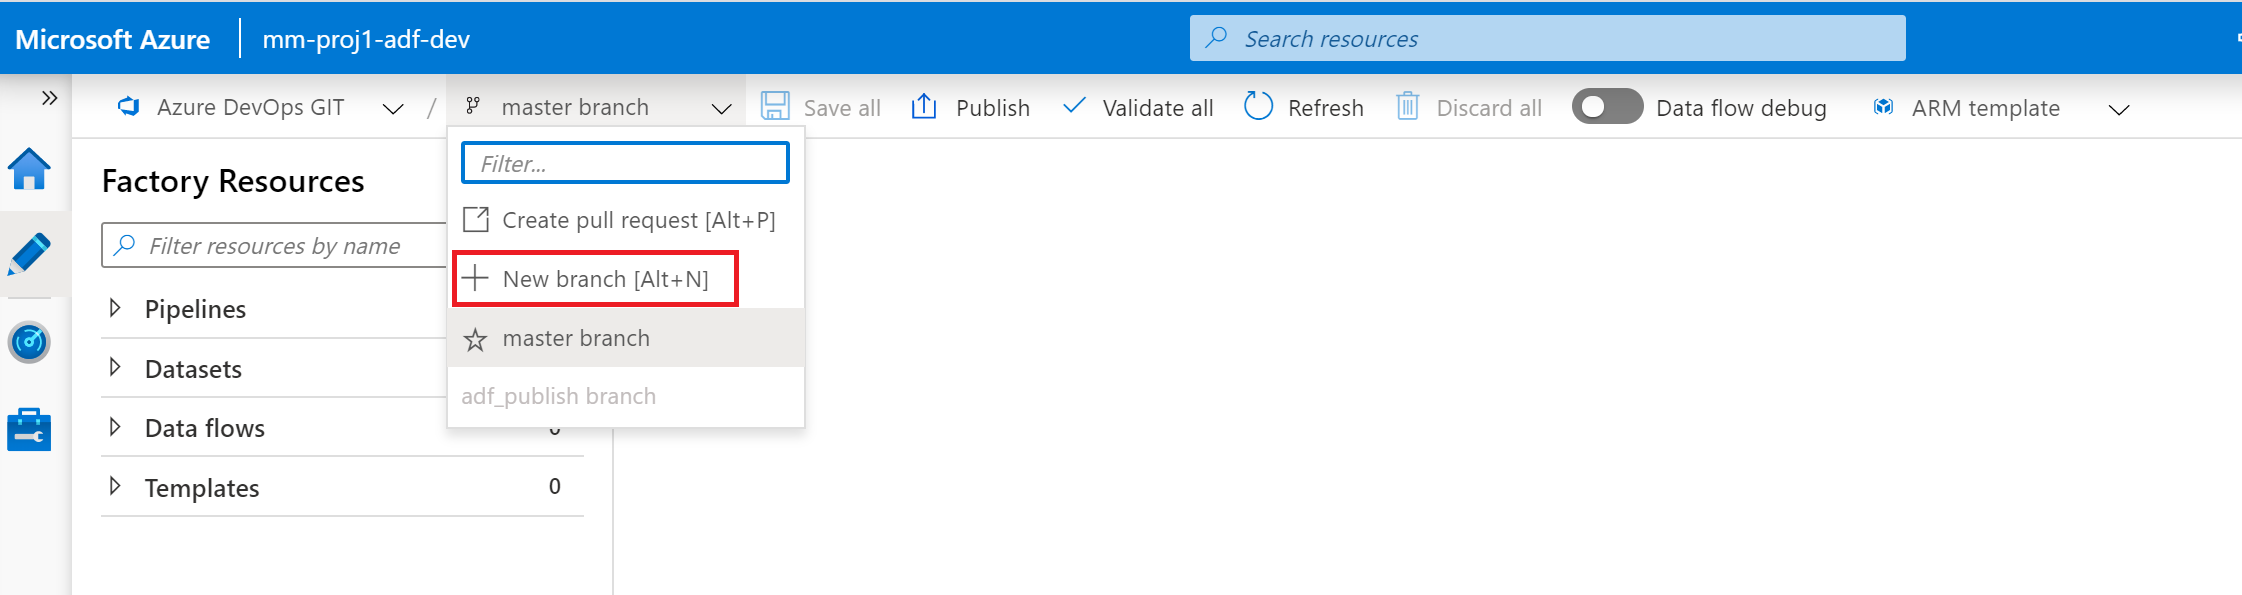
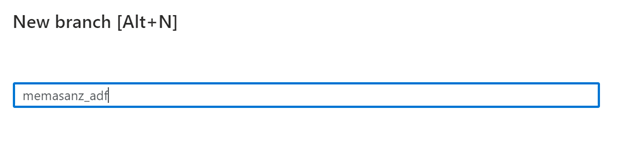
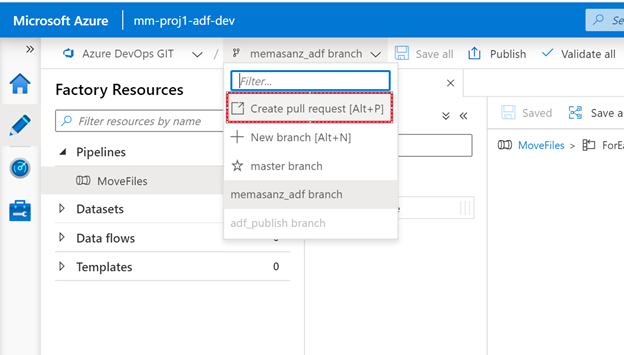
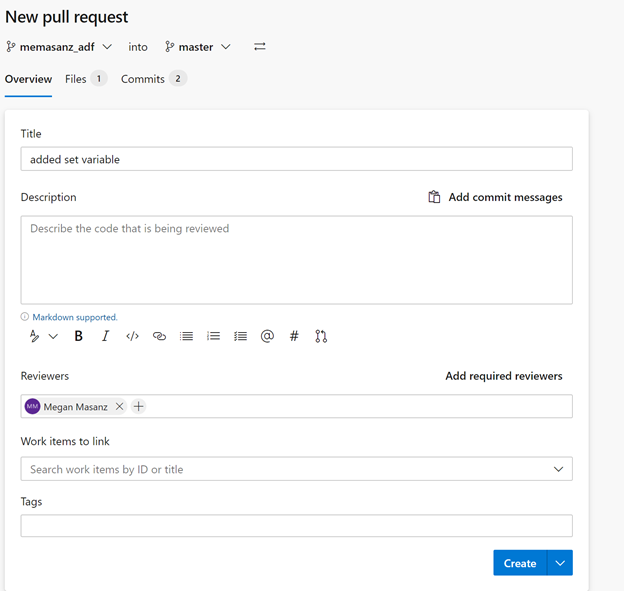
So now let’s make some changes. Create a branch, make a change, create a pull request, get it approved, merged and then you need to publish to see the change. Inside dev instance of ADF let’s create a branch
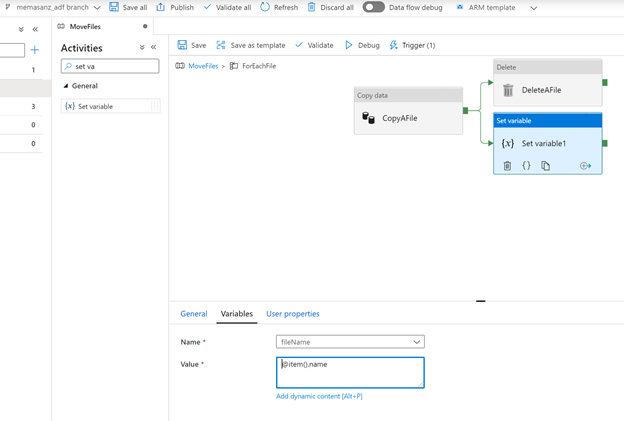
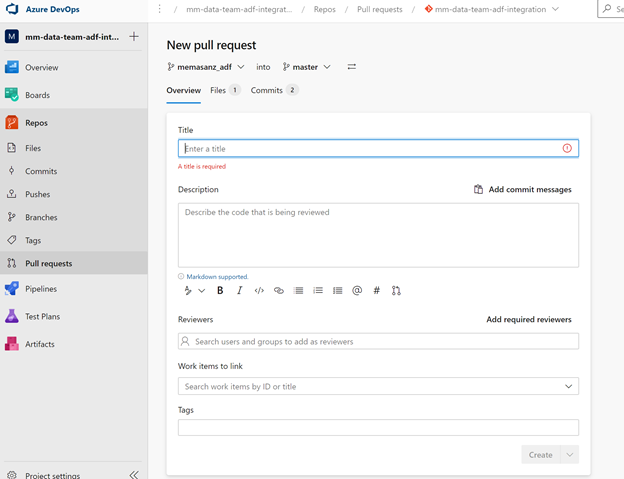

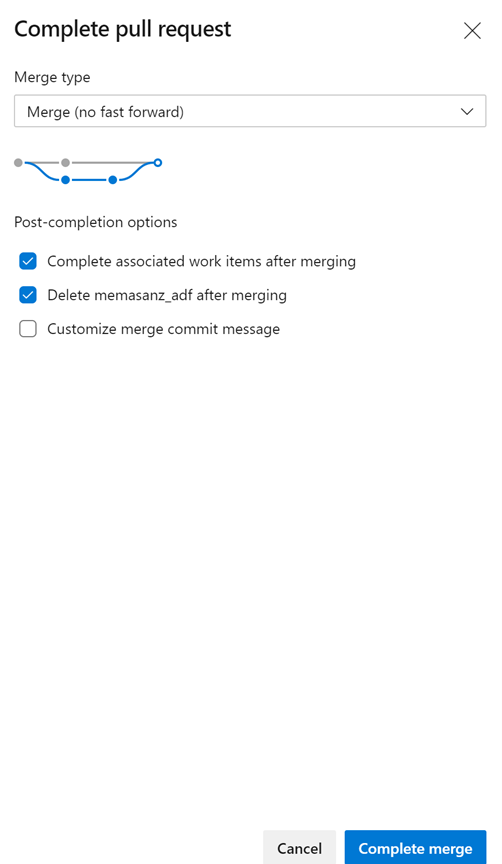
Approve & Complete

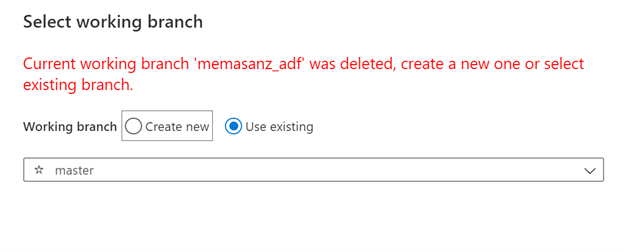
Switch back to Master branch in ADF
You cna debug here
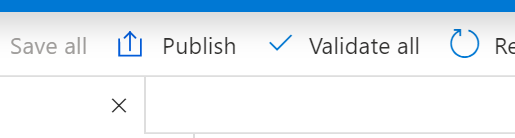
Hit the publish button